Important
Before you turn on provisioning, if you have existing users in 1Password, make sure they’re in at least one of the Google Workspace group(s) that you plan to provision. If they aren’t in the provisioned group(s), they’ll be suspended in 1Password.

With 1Password Business, you can integrate 1Password with Google Workspace to automate many common administrative tasks:
Provision
- Create users: Users in selected Google Workspace groups will be provisioned to 1Password.
- Update user attributes: Changing user attributes in your Google Workspace directory, such as the user’s name and email address, will change the mapped attributes in 1Password.
- Deactivate users: Suspending or deleting a user in Google Workspace will suspend the user in 1Password.
Manage groups
- Sync groups: Sync groups from Google Workspace to 1Password.
To integrate 1Password with Google Workspace, you’ll need to create a Google service account and API client, then give it permission to read your directory’s users, groups and group members, and administrator events from Google Workspace. This allows the SCIM bridge to fetch information about and capture events for user creation, suspension, and deletion.
To get started, sign in to your account on the Google Cloud Console and follow these steps.
Before you begin
Before you can integrate 1Password with Google Workspace, you’ll need to set up and deploy 1Password SCIM Bridge.
Step 1: Create a Google service account, key, and API client
These steps were recorded in June 2025 and may have changed since. Refer to the Google Cloud documentation for the most up-to-date steps.
1.1: Create a Google service account and key
- In the Google Cloud Console, create a new project
for 1Password SCIM bridge.
If you have an existing project that you want to use, select the project name in the top navigation.
- Open the Google Cloud Marketplace and find the Admin SDK API.
- Select Enable to turn on the API. This will take a moment.
- Select the navigation menu in the top left, then select IAM & Admin > Service Accounts.
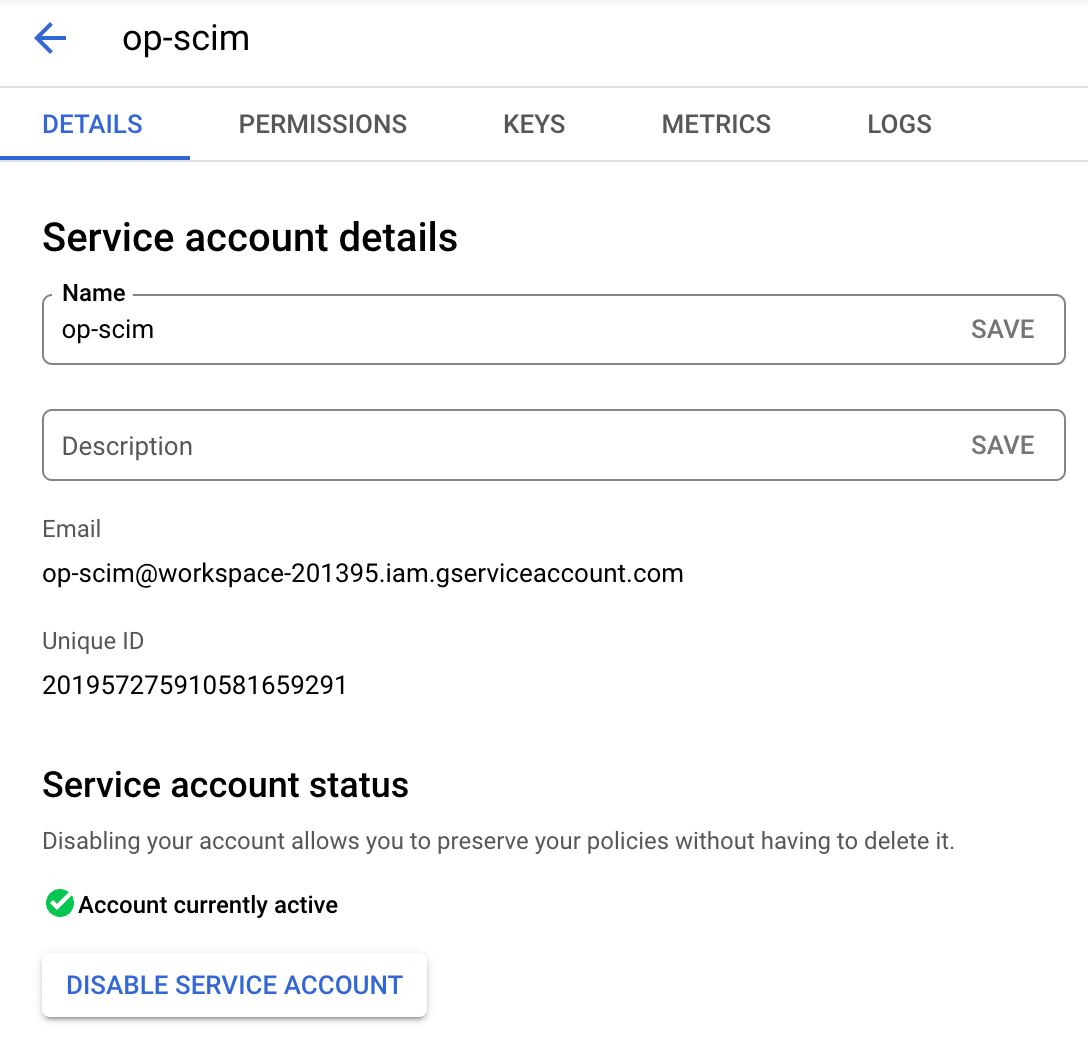
- Select Create service account, fill out the Service account name field, then select Done.
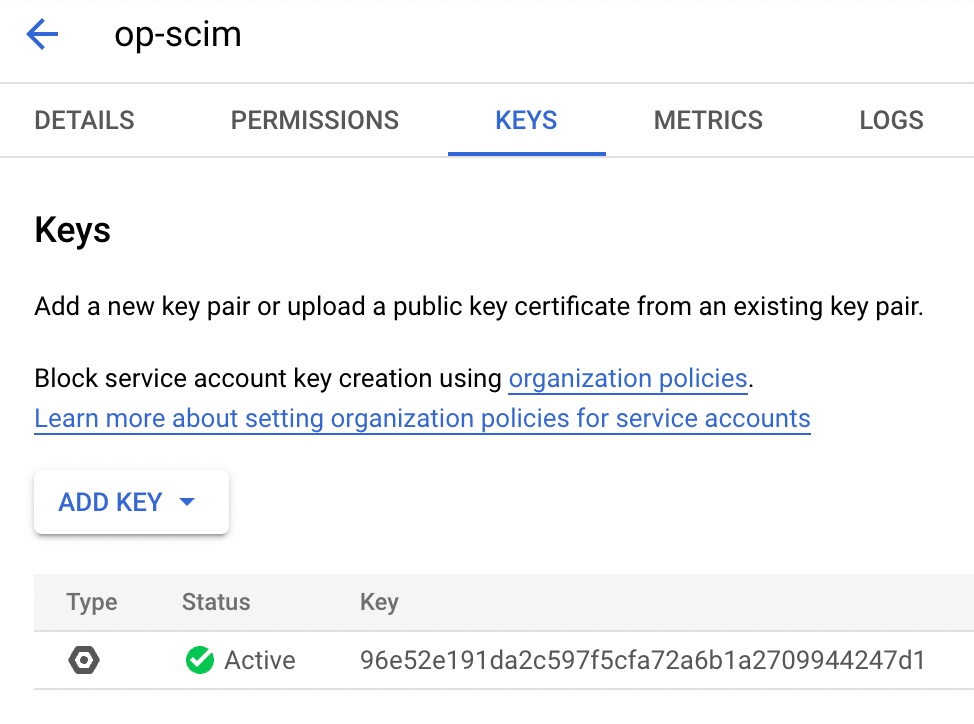
- Select the service account you just created, then select Keys.
- Select Add Key > Create new key.
- Select JSON, then select Create. The service account key will be downloaded to your computer.
- Save the service account key in 1Password so you can find it later.
1.2: Add a new API client
- Select the Details tab on the service account you created.
- Select Advanced settings, then select the copy button to copy the Client ID.
- Select View Google Workspace Admin Console and navigate to the Domain-wide Delegation page.
- Select Add new, then fill out the information:
- Client ID: paste the Client ID you copied.
- OAuth scopes: paste the following:
https://www.googleapis.com/auth/admin.directory.user.readonlyhttps://www.googleapis.com/auth/admin.directory.group.readonlyhttps://www.googleapis.com/auth/admin.directory.group.member.readonlyhttps://www.googleapis.com/auth/admin.reports.audit.readonly
- Select Authorize.
Step 2: Configure your SCIM bridge
Important
Before you proceed, make sure you’ve set up and deployed your 1Password SCIM Bridge.
2.1: Upload the service account key
- Open your SCIM bridge and enter your bearer token.
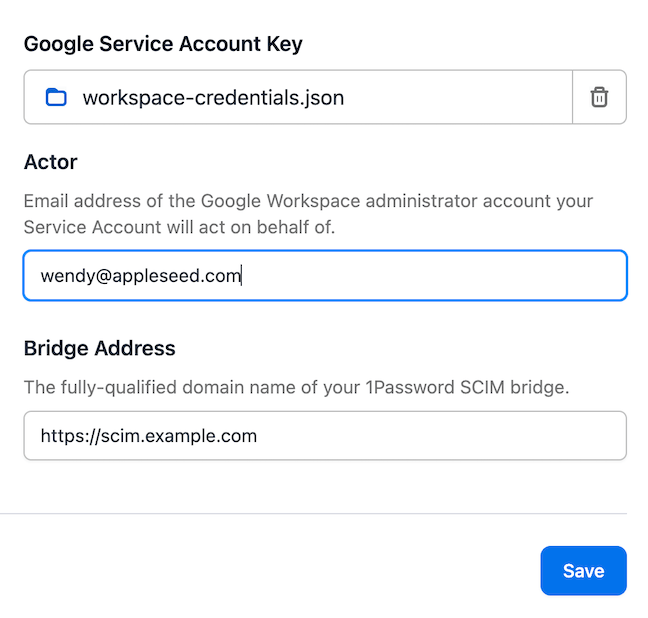
- Scroll down to Google Workspace, then select Upload Service Account Key.
- Upload the
.jsonkey you created earlier. - Go back to the Google Workspace section, then fill out these fields:
- Actor: the email address of the administrator in Google Workspace that the service account is acting on behalf of.
- Bridge Address: the URL of your SCIM bridge (not your 1Password account sign-in address). For example:
https://scim.example.com
- Select Save.
- Enter your bearer token again, then select Verify. You should see a green checkmark ✅ beside Workspace Server.
2.2: Set up provisioning to 1Password
Important
If you have existing users in 1Password, make sure they’re in at least one of the Google Workspace group(s) that you plan to provision. If they aren’t in the provisioned group(s), they’ll be suspended in 1Password.
After you’ve connected Google Workspace to your SCIM bridge, you can choose which groups to provision to 1Password:
- Scroll down to Google Workspace.
- Select the group(s) you would like to provision to 1Password, then select Save.
If you need to take time to choose groups you want to provision, you may want to temporarily turn off provisioning to make sure people aren’t provisioned by mistake:
- Sign in to your account on 1Password.com.
- Select Integrations in the sidebar.
- Select Automated User Provisioning.
- Turn off Provisioning users & groups on the left side of the page.
After you’ve selected the groups you want to provision, you can turn provisioning back on.
Next steps
When you turn on provisioning, existing 1Password users will be linked to Google Workspace users if their email address matches. If their email address is different, they’ll be invited to 1Password again, so make sure any affected team members update their email address before you turn on provisioning.
After you set up provisioning, wait a few moments, sign in to your account on 1Password.com, and open the People and Groups to make sure your users are provisioned.
If a team member hasn’t accepted their invite after 2 days, they’ll receive a reminder email.
Tip
Learn about best practices for using automated provisioning and best practices for the SCIM bridge.
Manage your settings
To manage your Google Workspace provisioning settings, open your SCIM bridge and enter your bearer token, then scroll down to Google Workspace.
- To stop provisioning a group to 1Password, deselect it, then choose Stop Syncing or Remove from 1Password.
- When you choose Stop Syncing, any changes made to the group in your directory will not propagate to 1Password.
- When you choose Remove from 1Password, the group will be removed and everyone in it will be suspended in 1Password, unless they are part of another group that is provisioned to 1Password.
- To turn off provisioning, sign in to your account on 1Password.com, then open the Integrations page, then select the Google Workspace integration. Turn off Provisioning users & groups. After you turn off provisioning, any changes from your Google Workspace directory will no longer affect users in 1Password, but you can continue to add and remove team members on 1Password.com.
Get help
If users and groups aren’t being provisioned, make sure provisioning is turned on in your 1Password account:
- Sign in to your account on 1Password.com.
- Select Integrations in the sidebar.
- Select Automated User Provisioning.
- Make sure Provisioning users & groups is turned on.
If you have over 1,000 groups in Google Workspace and deployed your SCIM bridge to Kubernetes, you’ll need to increase your SCIM bridge’s resource allocations to provision them. Learn more about resource recommendations in the 1Password SCIM bridge deployment examples repo .
Was this article helpful?
Glad to hear it! If you have anything you'd like to add, feel free to contact us.
Sorry to hear that. Please contact us if you'd like to provide more details.