
Provision
- Create Users. Users created in Rippling will also be created in 1Password.
- Update User Attributes. Changing a user’s name in Rippling will change their name in 1Password.
- Deactivate Users. Deactivating a user or disabling the user’s access to 1Password in Rippling will suspend the user in 1Password.
Manage Groups
- Sync Group Memberships. 1Password groups are available in Rippling, and any changes you make to group memberships sync to 1Password automatically.
- Use Teams and Departments. You can use your Rippling Teams and Departments to add and remove users from 1Password groups.
Step 1: Add provisioning to your 1Password account
Before you can start provisioning, you’ll need to add the Rippling provisioning integration. Sign in to your 1Password account, select Integrations in the sidebar, then select Rippling.
If you see the details for an existing provisioning integration, you’ll need to deactivate it first. Select More Actions and choose Deactivate Provisioning. Then select Sign In on the SCIM Bridge Setup page again.
After you complete the setup process, you’ll get a scimsession file and bearer token. Save them both in 1Password. You’ll need them in step 3 when you set up Rippling auto-hosting.
Important
The bearer token and scimsession file you receive during setup can be used together to access information from your 1Password account. You’ll need to share these with Rippling, but it’s important to never share them with anyone else.
Step 2: Add the 1Password app to Rippling
To add the 1Password application, sign in to your account on Rippling.com and follow these steps:
- Select Add New App.
- Search for 1Password, then select it.
- On the 1Password application page, select Connect Account.
- If you’re an owner or administrator for your business account, select I’m the 1Password admin, I’ll install it.
Then follow the onscreen instructions to connect your 1Password account to Rippling.
Step 3: Deploy 1Password SCIM Bridge
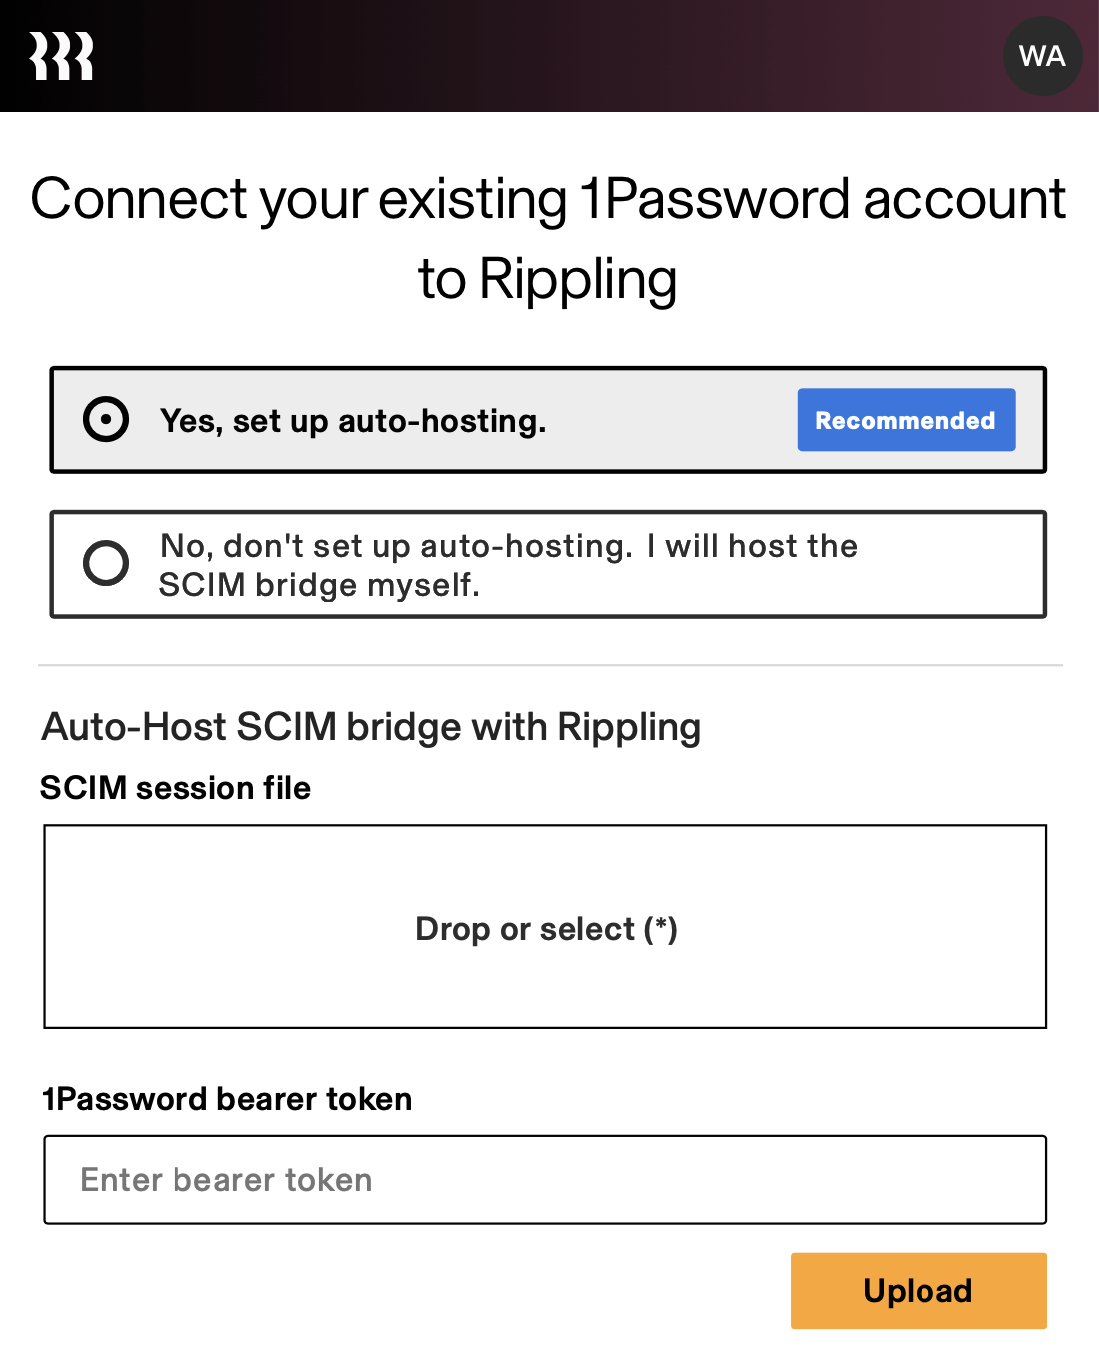
To deploy the SCIM bridge with Rippling auto-hosting:
- When prompted, select Yes, set up auto-hosting.
- Drag your
scimsessionfile to Rippling, then enter your bearer token, then select Upload.
When the setup finishes, select Move to Next Step and follow the onscreen instructions to finish setting up Rippling.
If you want to deploy the SCIM bridge on your own infrastructure, start provisioning setup again and choose a custom deployment option. Then connect Rippling.
Settings
To add a Team or Department’s employees to a 1Password group:
- Select the Groups tab in the 1Password application.
- Select Edit beside the group.
- Enter the Team or Department name, select it, then select Confirm.
Learn more on the Rippling Help Center.
Next steps
If you have existing groups in 1Password that you want to sync with Rippling, add them to the groups managed by provisioning. Select View Details in the setup assistant or select Integrations in the sidebar, then select Manage. Select Manage in the Managed Groups section, then select the groups to sync.
If you’ve previously used the SCIM bridge, make sure to select any groups that were already synced with Rippling. This will prevent problems syncing with your identity provider, including duplicate groups.
Was this article helpful?
Glad to hear it! If you have anything you'd like to add, feel free to contact us.
Sorry to hear that. Please contact us if you'd like to provide more details.