Tip
If you don’t use Azure Container Apps, you can still automate provisioning with Azure Kubernetes Service or another deployment environment.
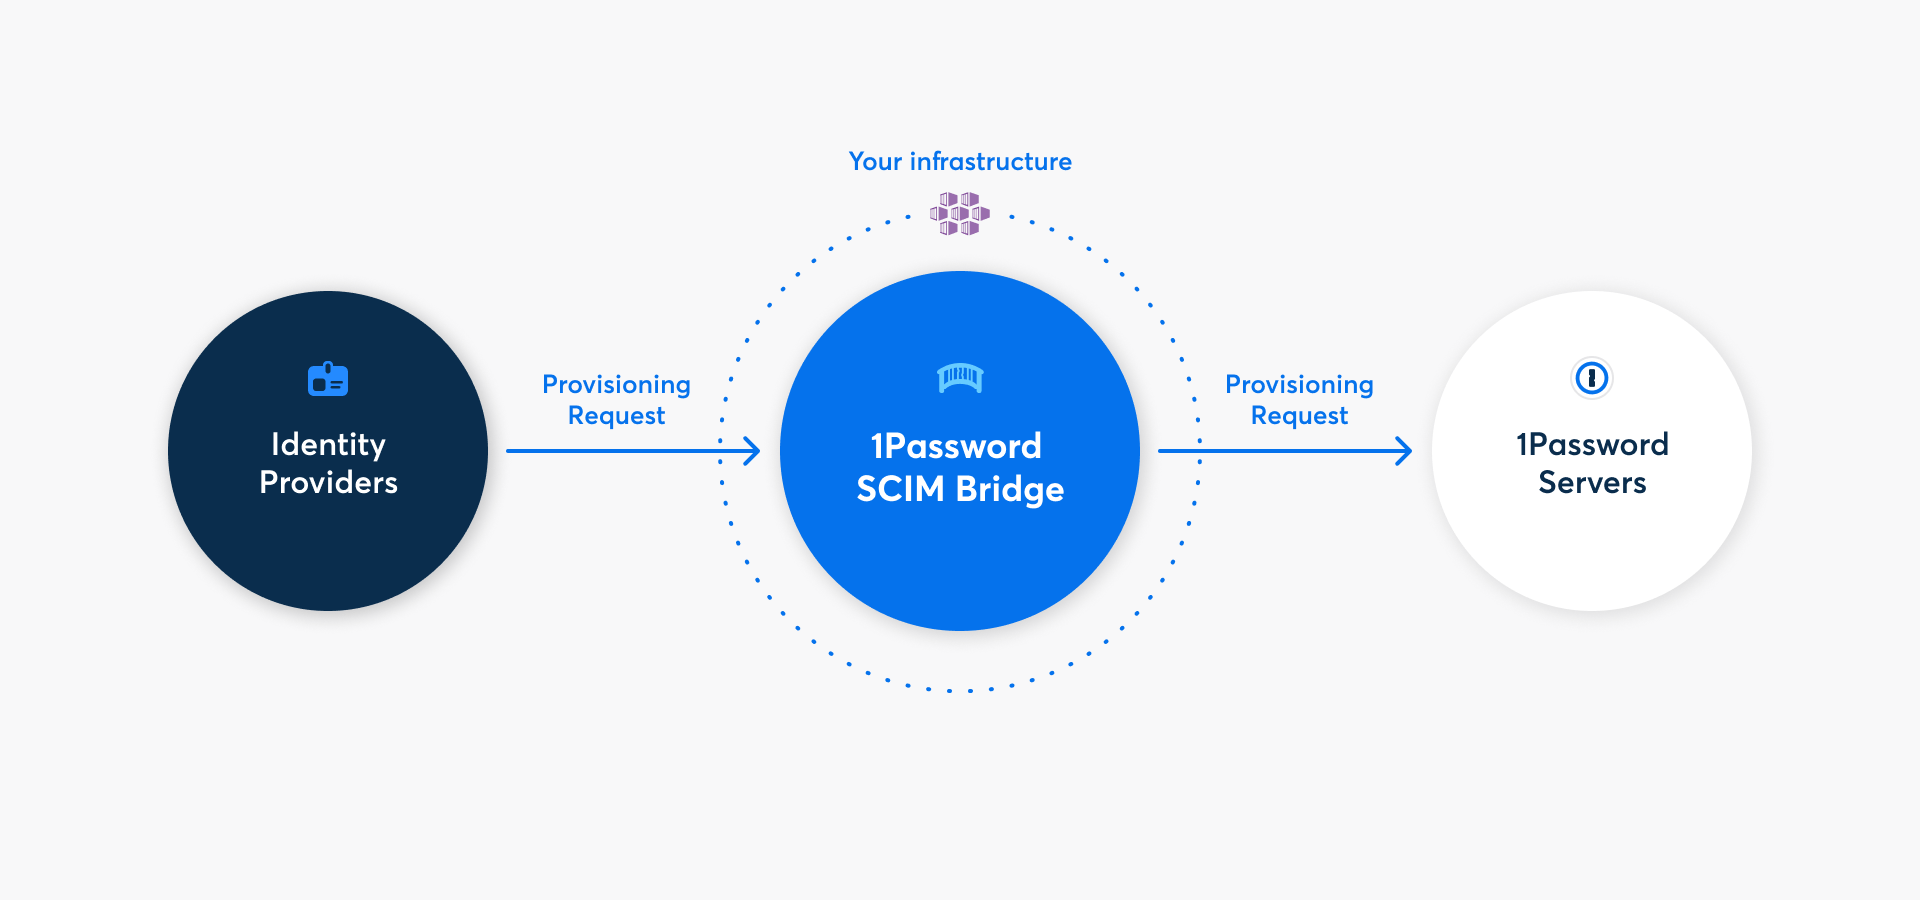
With 1Password Business, you can automate many common administrative tasks using 1Password SCIM Bridge. It uses the System for Cross-domain Identity Management (SCIM) protocol to connect 1Password with your existing identity provider, like Google Workspace, JumpCloud, Microsoft Entra ID, Okta, OneLogin, or Rippling.
You can deploy 1Password SCIM Bridge on Azure Container Apps by following the steps below. Alternatively, you can deploy on Azure Kubernetes Service.
Step 1: Add provisioning to your 1Password account
Before you can deploy 1Password SCIM Bridge, you’ll need to add the provisioning integration and get credentials for it. Select Get Started below and sign in to your 1Password account. Select your identity provider in the User Provisioning section, then choose Custom in the deployment options and follow the onscreen instructions.
If you see the details for an existing provisioning integration, you’ll need to deactivate it first. Click More Actions and choose Deactivate Provisioning.
After you complete the setup process, you’ll get a scimsession file and bearer token. Save them both in 1Password and save the scimsession file to your computer. You’ll need these to deploy the SCIM bridge and connect your identity provider.
Important
The bearer token and scimsession file you receive during setup can be used together to access information from your 1Password account. You’ll need to share the bearer token with your identity provider, but it’s important to never share it with anyone else. And never share your scimsession file with anyone at all.
Step 2: Deploy your SCIM bridge
2.1: Load the Container App template
- Download the Azure Resource Manager template file.
- Sign in to your account on the Microsoft Azure portal and navigate to the Custom deployment page.
- Select Build your own template in the editor.
- Select Load file and choose the template file you downloaded earlier.
- Select Save.
2.2: Configure and deploy the Container App
- Fill out the following fields:
- Subscription: Choose the subscription you prefer.
- Resource group: Choose an existing Resource Group or create a new one.
- Region: Choose the region you prefer.
- Container App Name: Enter a name you’d like to use. By default, the name is
op-scim-con-app. - Container App Env Name: Enter a name you’d like to use. By default, the name is
op-scim-con-app-env. - Container App Log Analytics Name: Enter a name you’d like to use. By default, the name is
op-scim-con-app-log-analytics. - Scimsession: Paste the contents of your
scimessionfile. - Workspace Actor: If you use Google Workspace as your identity provider, enter the email address of a Google Workspace administrator for the service account. If you don’t use Google Workspace, leave this field blank.
- Workspace Credentials: If you use Google Workspace as your identity provider, paste the contents of the
.jsonkey file you downloaded as part of the Google Workspace setup. If you don’t use Google Workspace, leave this field blank.
- Select Review + create.
- After the validation succeeds, select Create. The deployment will take a few minutes.
Step 3: Test your SCIM bridge
After your SCIM bridge is deployed, run this test to make sure it’s online:
- Select Go to resource group and choose the container app you created.
- Choose Overview in the sidebar, then select the Application Url link. This is your SCIM bridge URL.
- Sign in with your bearer token and verify that your SCIM bridge is connected to your 1Password account.
Step 4: Connect your identity provider to the SCIM bridge
Important
If you’ve already been using 1Password Business, make sure the email addresses and group names in your 1Password account are identical to those in your identity provider.
- If anyone is using a different email address in 1Password, ask them to change it.
- If you have existing groups in 1Password that you want to sync with groups in your identity provider, adjust the group names in 1Password.
Because 1Password SCIM Bridge provides a SCIM 2.0-compatible web service that accepts OAuth bearer tokens for authorization, you can use it with a variety of identity providers.
Learn how to connect your identity provider:


Get help
Get help with the SCIM bridge, like if you lose your bearer token or session file.
To get more help or share feedback, contact 1Password Business Support or join the discussion with the 1Password Support Community.
Learn more
- Update 1Password SCIM Bridge
- Adjust the interval for automatic team member confirmation in 1Password SCIM Bridge
- (GitHub) Advanced details for 1Password SCIM Bridge on Azure Container Apps
Was this article helpful?
Glad to hear it! If you have anything you'd like to add, feel free to contact us.
Sorry to hear that. Please contact us if you'd like to provide more details.