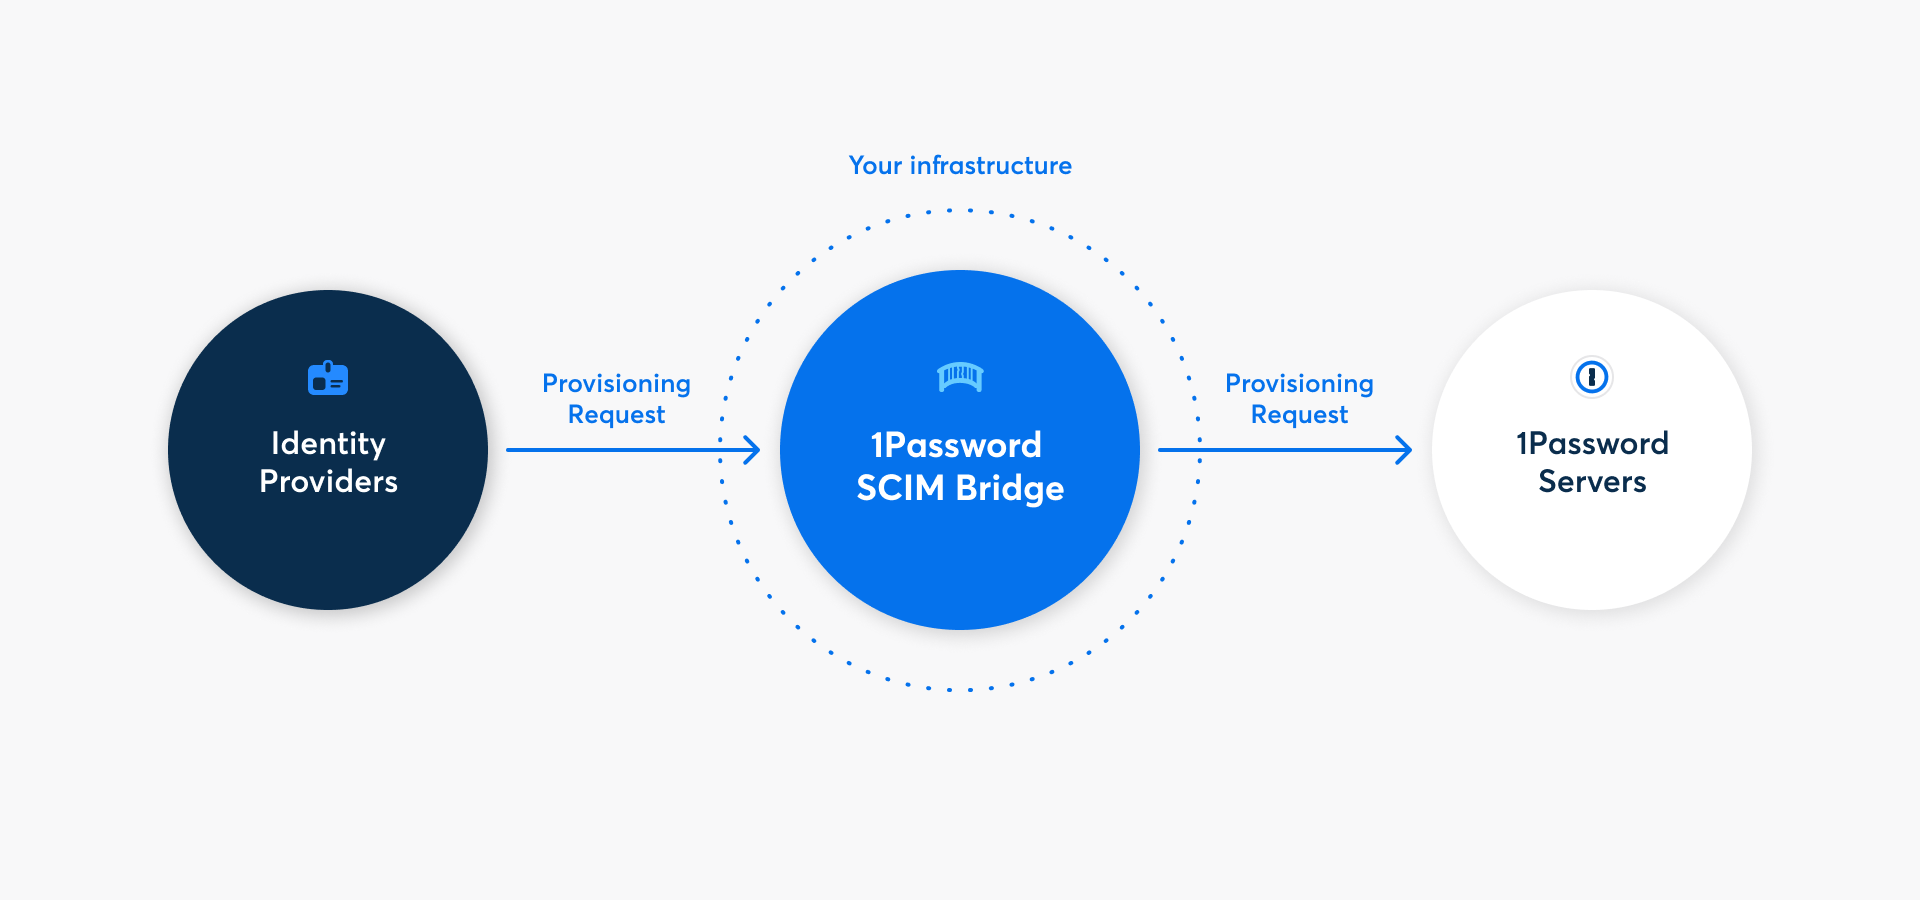
With 1Password Business, you can automate many common administrative tasks by connecting your identity provider with your 1Password account using 1Password SCIM Bridge. When you set up automated provisioning with your identity provider, you can:
- Create users and groups, including automated account confirmation
- Grant and revoke access to groups
- Suspend users
Automated provisioning doesn’t include single sign-on (SSO). If you want to allow your users to sign in to 1Password using your identity provider, learn how to set up Unlock with SSO.
Read More
Learn why you need to host your own SCIM bridge to connect your identity provider to 1Password.
Before you begin
Before you can set up automated provisioning, you’ll need:
- An administrator in your 1Password Business account.
- Administrative access to a supported identity provider: Google Workspace, JumpCloud, Microsoft Entra ID, Okta, OneLogin, or Rippling.
- A platform to deploy 1Password SCIM Bridge on, such as Google Cloud Platform, DigitalOcean, or your own infrastructure (using the 1Password SCIM Bridge deployment examples ).
- A public DNS record to point to the location of your SCIM bridge. For example,
scim.example.com. This is not required when you deploy to Azure Container Apps.
When you have these prerequisites, follow the steps below.
Step 1: Set up and deploy 1Password SCIM Bridge
Before you can start provisioning, you’ll need to set up and deploy 1Password SCIM Bridge:
- Sign in to your account on 1Password.com.
- Select Integrations in the sidebar.
- Choose your identity provider from the User Provisioning section.
- For a guided deployment that connects to your 1Password account to automatically generate and load credentials from 1Password, choose Google Cloud Platform or DigitalOcean. To deploy your SCIM bridge to another environment, follow the relevant documentation:
Your own custom deployment based on our SCIM bridge examples.
If you see the details for an existing provisioning integration, you’ll need to deactivate it first. Select More Actions, then select Deactivate Provisioning.
Important
The bearer token and scimsession file generated during setup can be used to access information from your 1Password account. Save these credentials in your 1Password account and never share them with anyone who shouldn’t have access to provisioning.
Step 2 (Optional): Set up managed groups
If you have custom groups in your 1Password account, you can sync them with groups in your directory. After you’ve deployed the SCIM bridge:
- Select View Details in the setup assistant or Integrations in the sidebar. Then select Manage.
- On the provisioning details page, select Manage in the Managed Groups section.
- Select the groups you want to sync with your identity provider, then select Save.
If you’ve previously used the SCIM bridge, make sure to select any groups that were already synced with your identity provider. This will prevent problems syncing with your identity provider, including duplicate groups.
Step 3: Connect your identity provider
To finish setting up automated user provisioning, connect your identity provider to the SCIM bridge. Learn how to connect your identity provider:
Next steps
After you set up automated provisioning:
- Team members won’t be able to change their email addresses themselves. You’ll need to change their email addresses in your identity provider first, and then they’ll be updated in 1Password. Team members will receive an email to confirm the change. Learn how to change a team member’s email address.
- You can suspend team members in 1Password by deprovisioning them in your identity provider. You can still permanently delete their account on 1Password.com.
- A Provision Managers group will be created. In most cases, no one should be added to this group. Group members can access the Employee vaults of provisioned users until they set up their account.
Tip
Learn about best practices for using automated provisioning.
Get help
If your SCIM bridge goes offline or becomes unreachable, information between 1Password and your identity provider will stop syncing until it reconnects. Existing accounts and information won’t be affected. There’s no risk of data loss, even if you have to redeploy the SCIM bridge.
If you change a team member’s email address in your identity provider, 1Password will email the team member and ask them to accept the change. If you’re changing the domain of the email address, make sure to update your allowed domains list. Emails associated with 1Password team members must be associated with a functioning inbox.
Do not change a suspended team member’s email address. Some identity providers don’t sync email changes for suspended users. If you reactivate a suspended team member after changing their email address, the SCIM bridge will treat them as a new user.
Get help with the SCIM bridge, like if you lose your bearer token or session file.
To get more help or share feedback, contact 1Password Business Support or join the discussion with the 1Password Support Community.
Learn more
- About 1Password Business
- 1Password SCIM bridge explained: what it is, and why we made it
- About 1Password SCIM Bridge security
- About the Provision Managers group
- Update 1Password SCIM Bridge
Was this article helpful?
Glad to hear it! If you have anything you'd like to add, feel free to contact us.
Sorry to hear that. Please contact us if you'd like to provide more details.