Log in to Personio as an Administrator, choose Settings and API credentials.
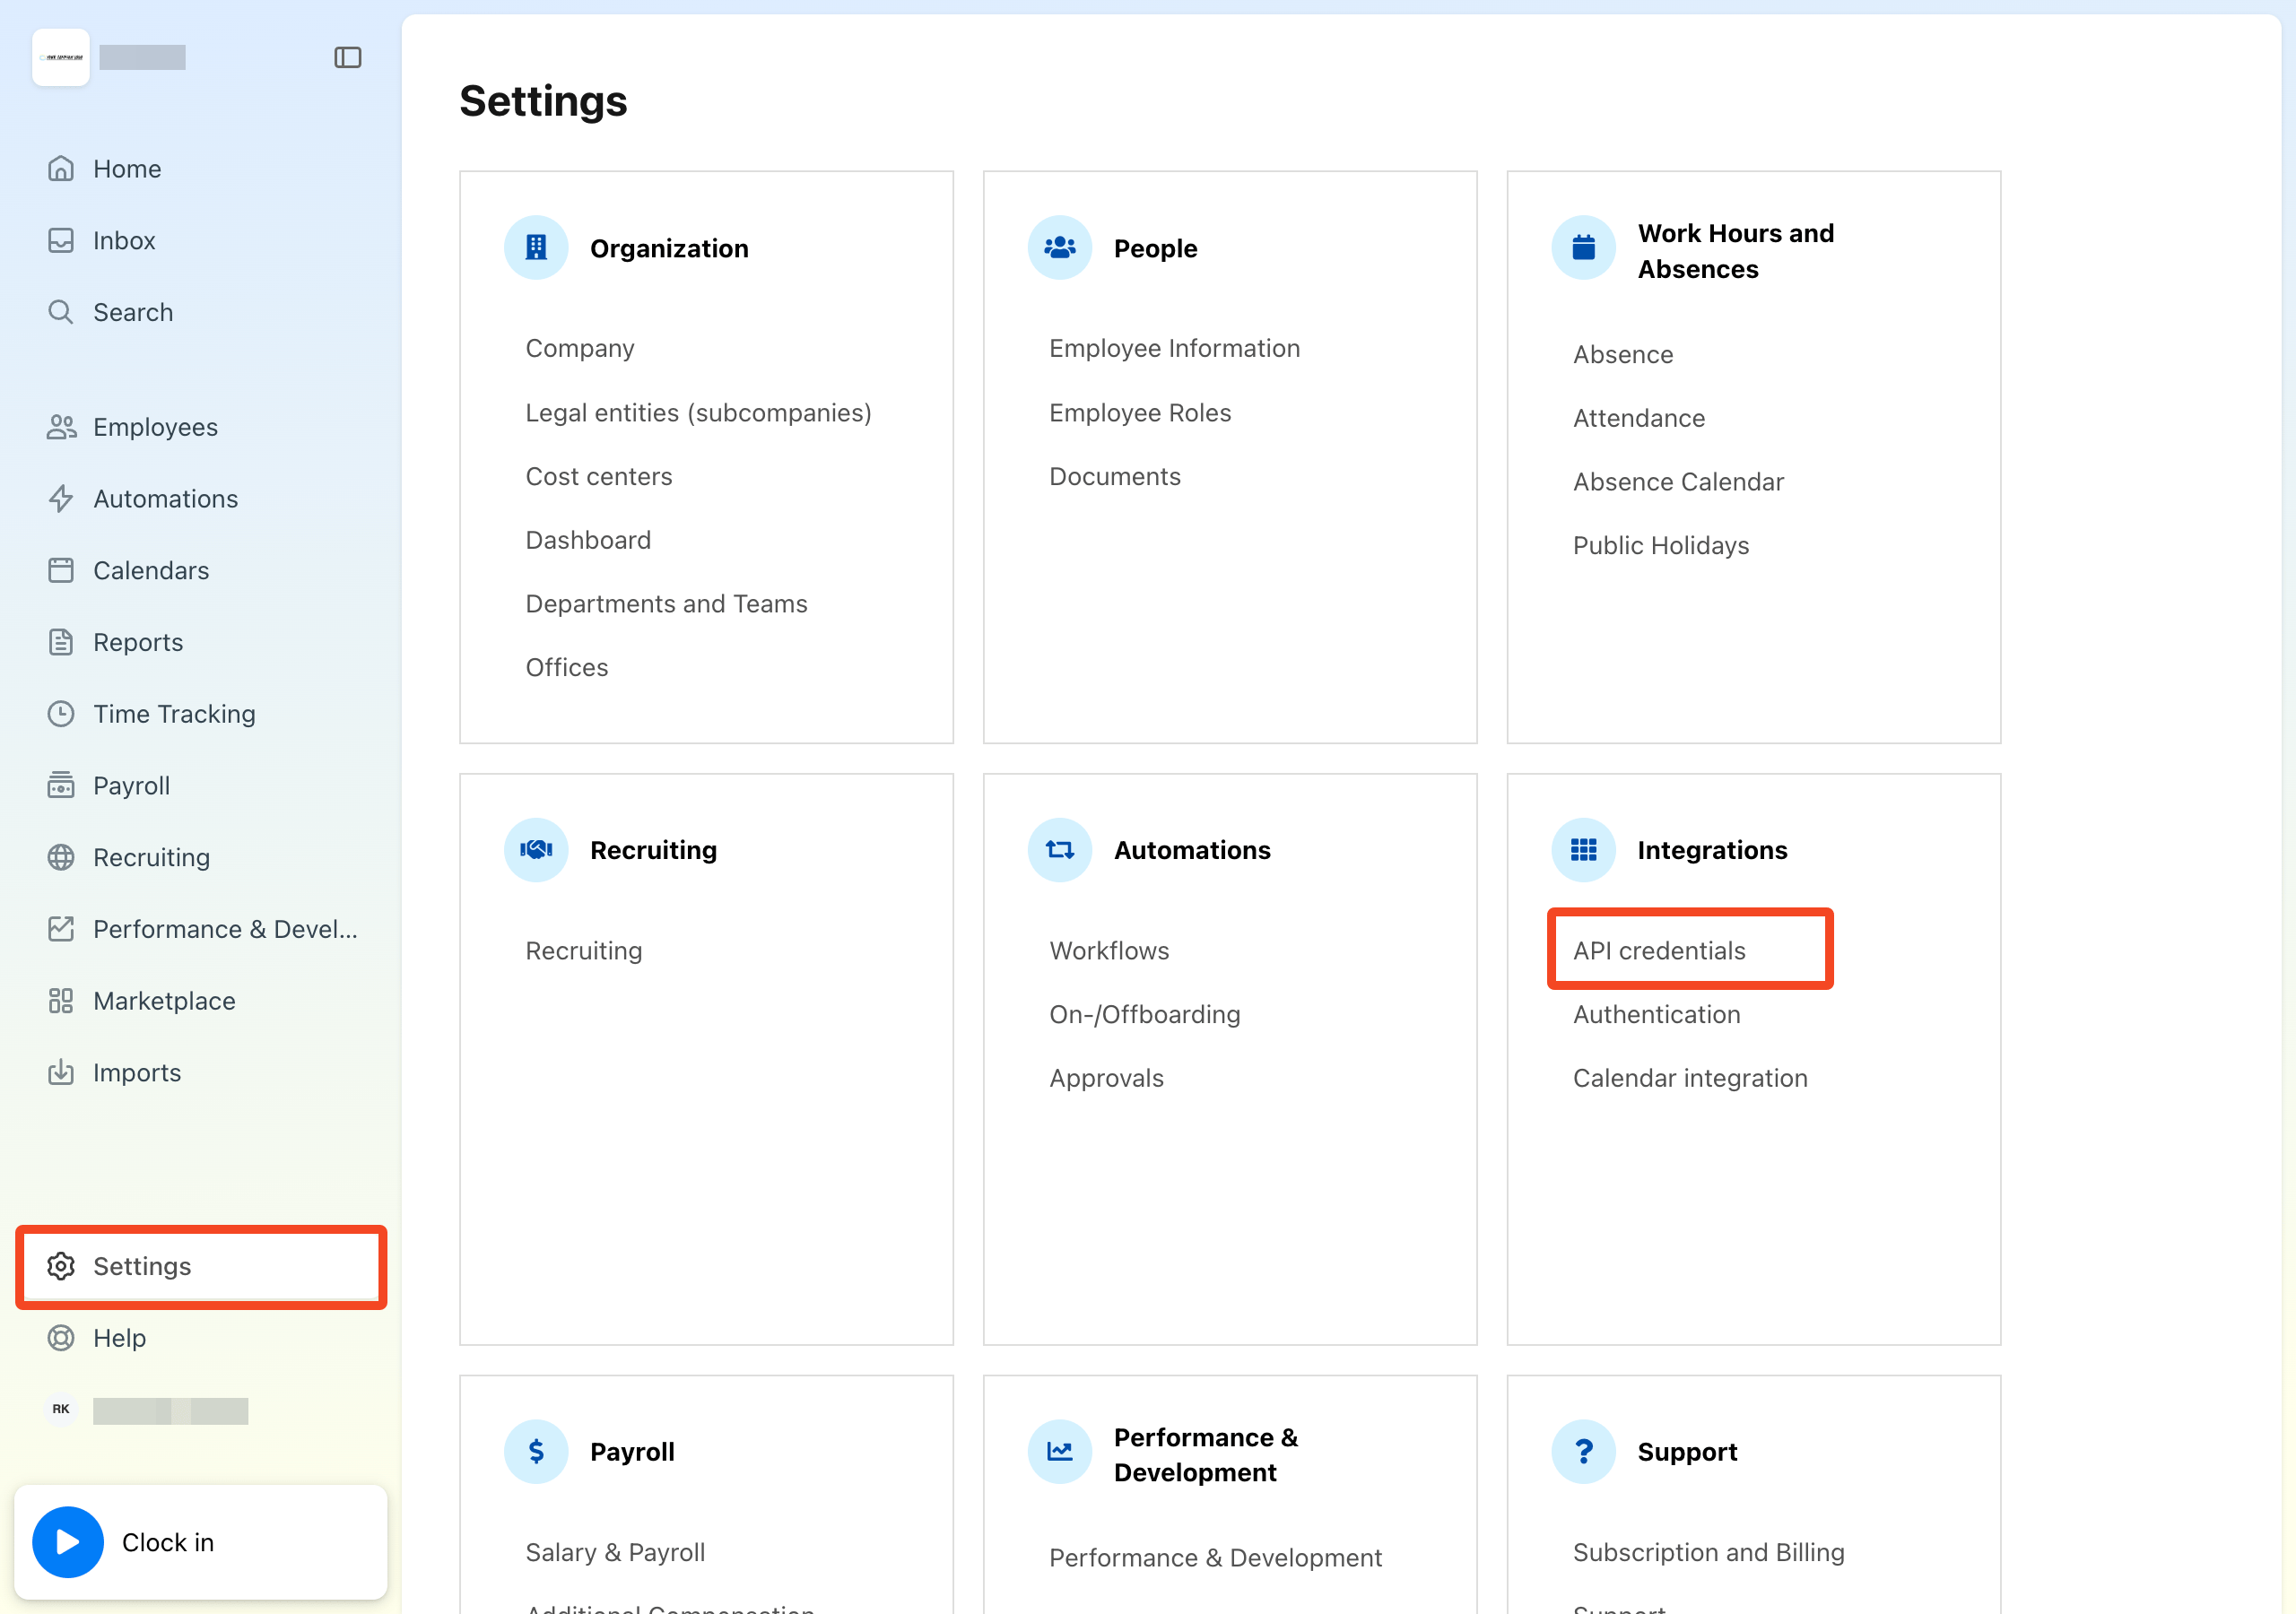
Then click Create custom integration:

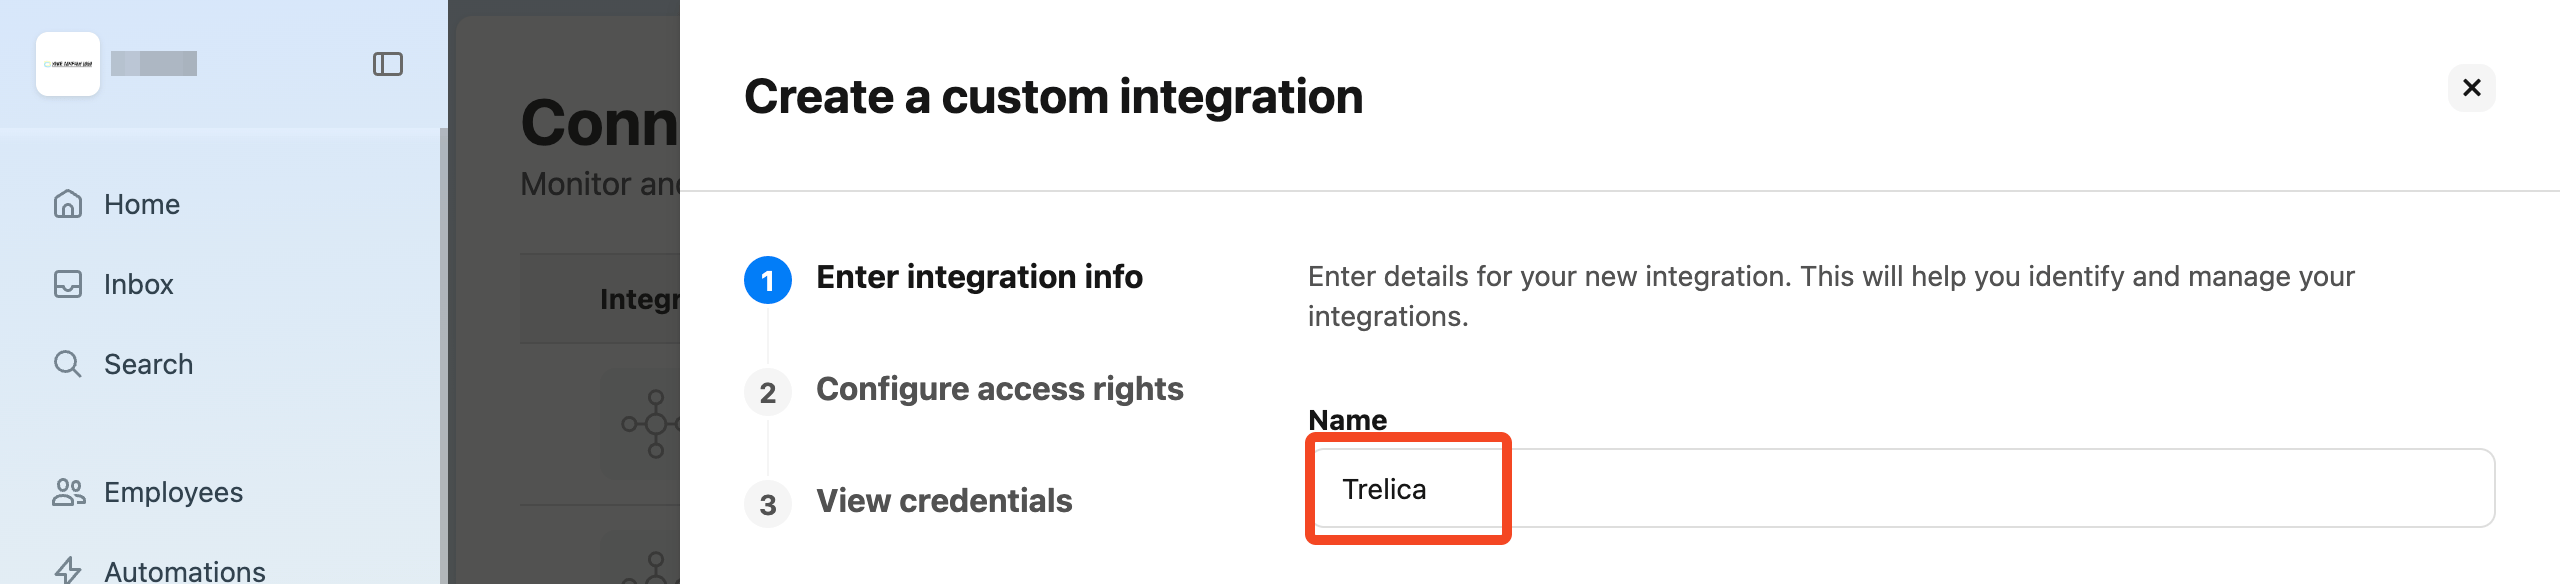
Enter a name for the integration (for example SaaS Manager), and click Next:
Tick Read to grant access to personal data for Employees:
You can then choose individual attributes to grant access to.
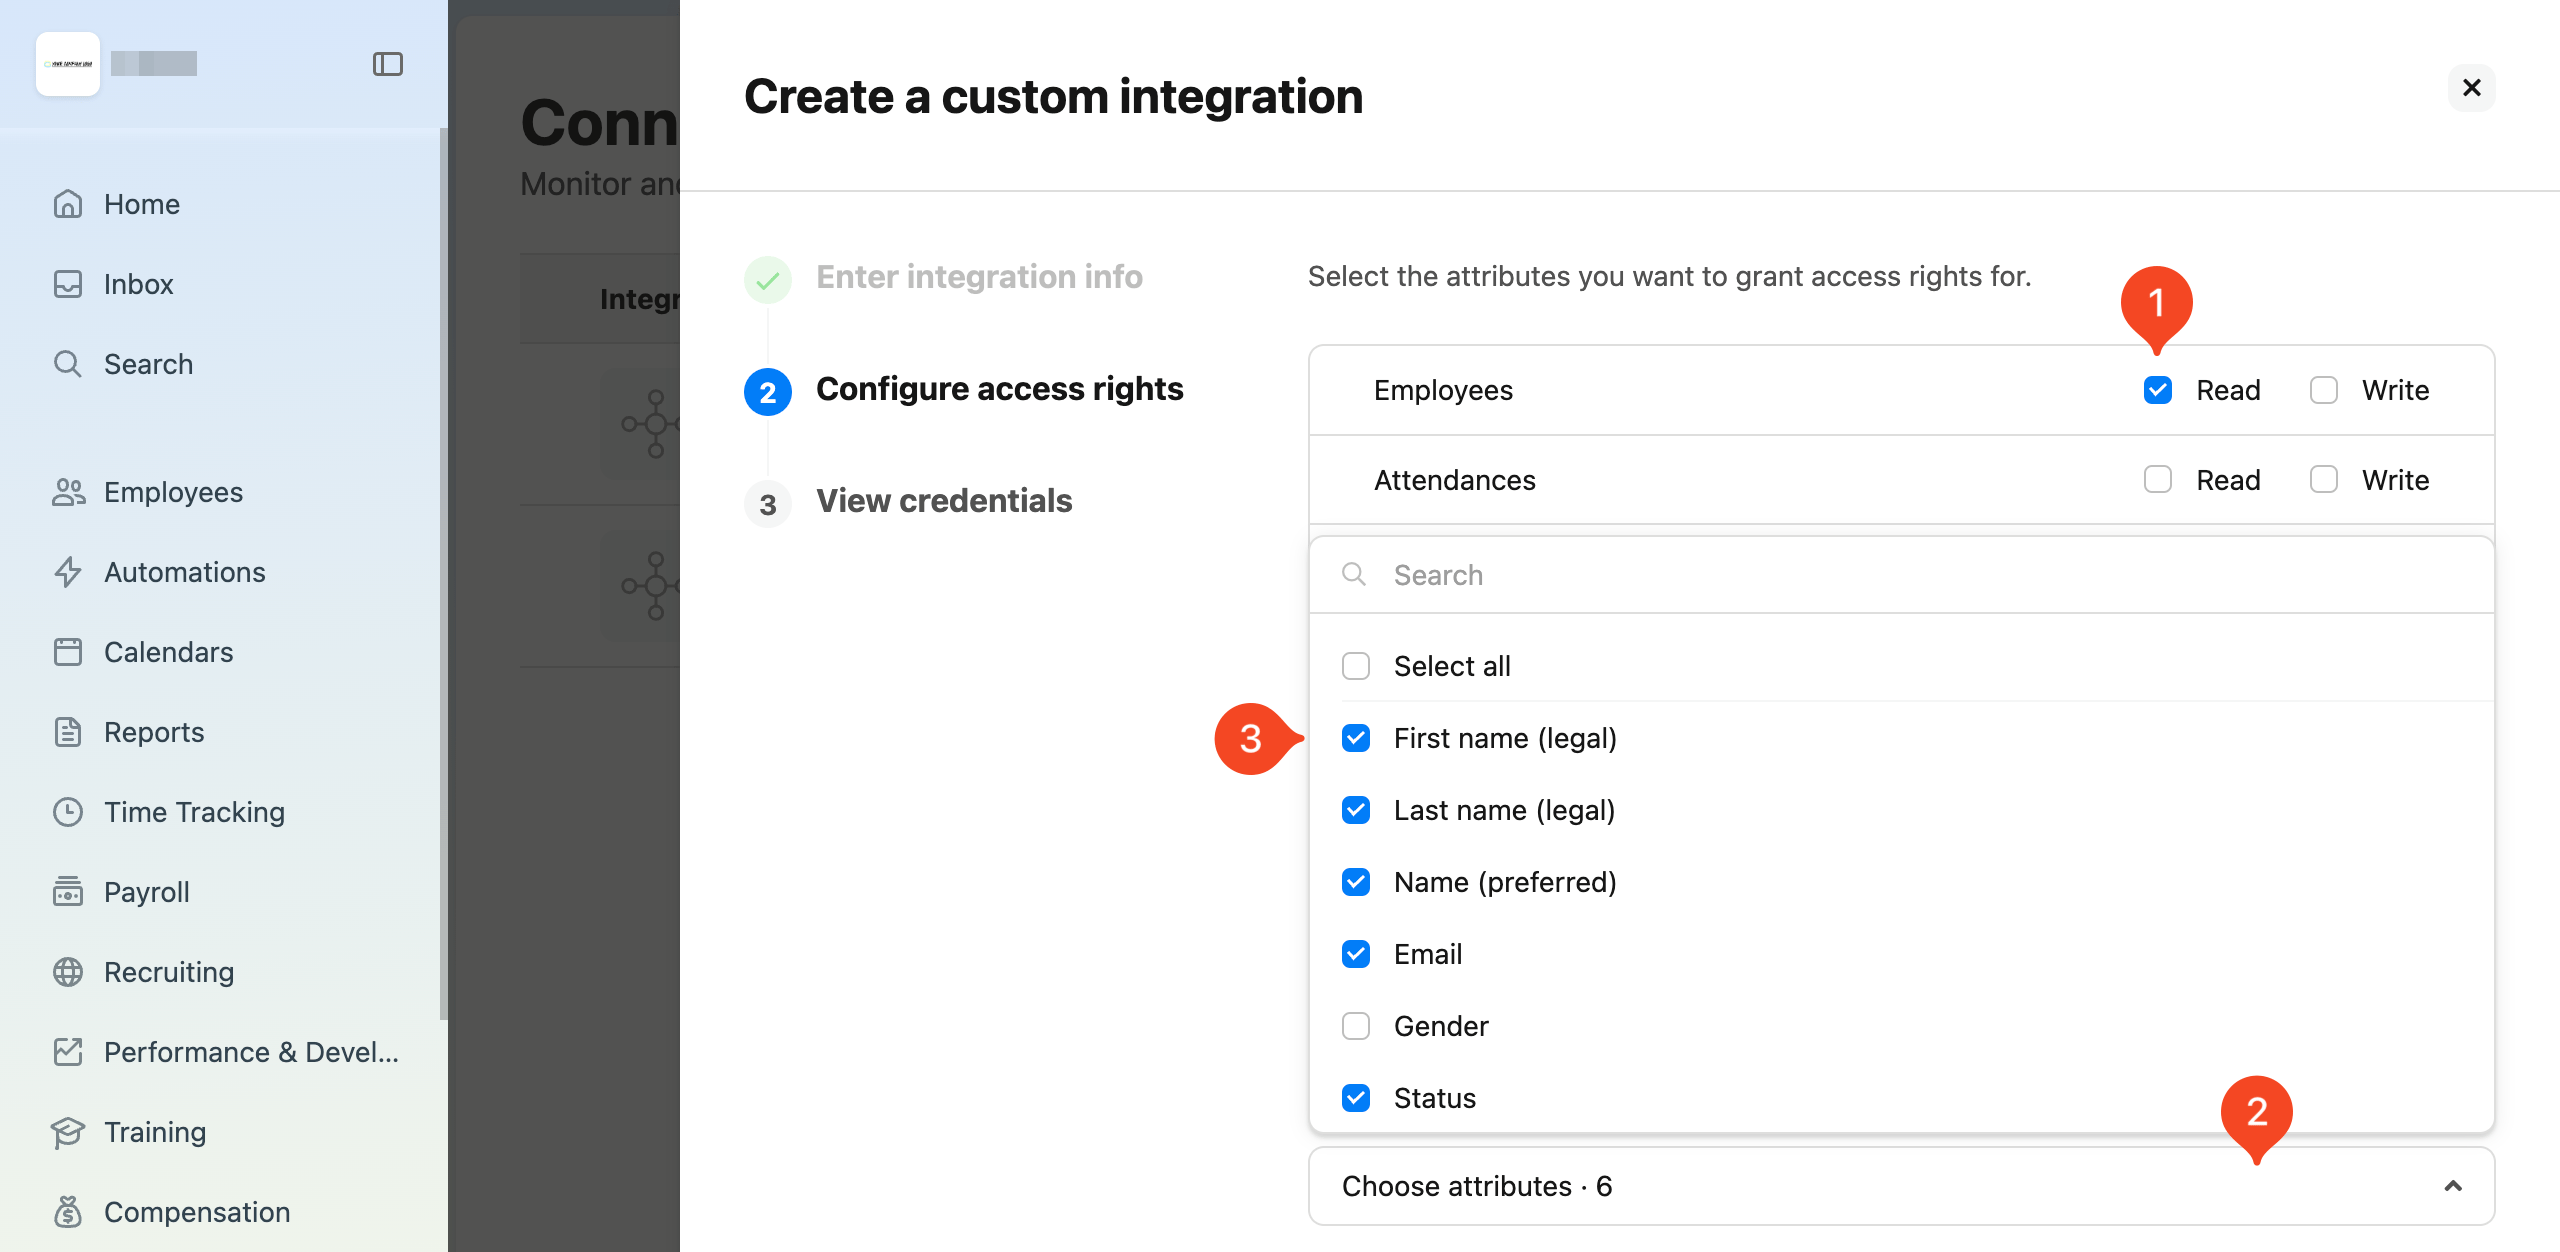
We require the following attributes:
- First name (legal)
- Last name (legal)
- Status
We recommend the following additional attributes:
- Name (preferred)
- Position
- Supervisor
- Employment type
- Hire date
- Contract ends
- Termination date (used in preference to ‘Contract ends’)
- Created at
- Subcompany
- Office
- Department
- Cost center
- Last day of work (used in preference to ‘Termination date’)
- Team
- Employee ID
- Personal email (optional - can be useful during onboarding)
- Last modified
When you have selected the attributes you want to share, click Create new integration.
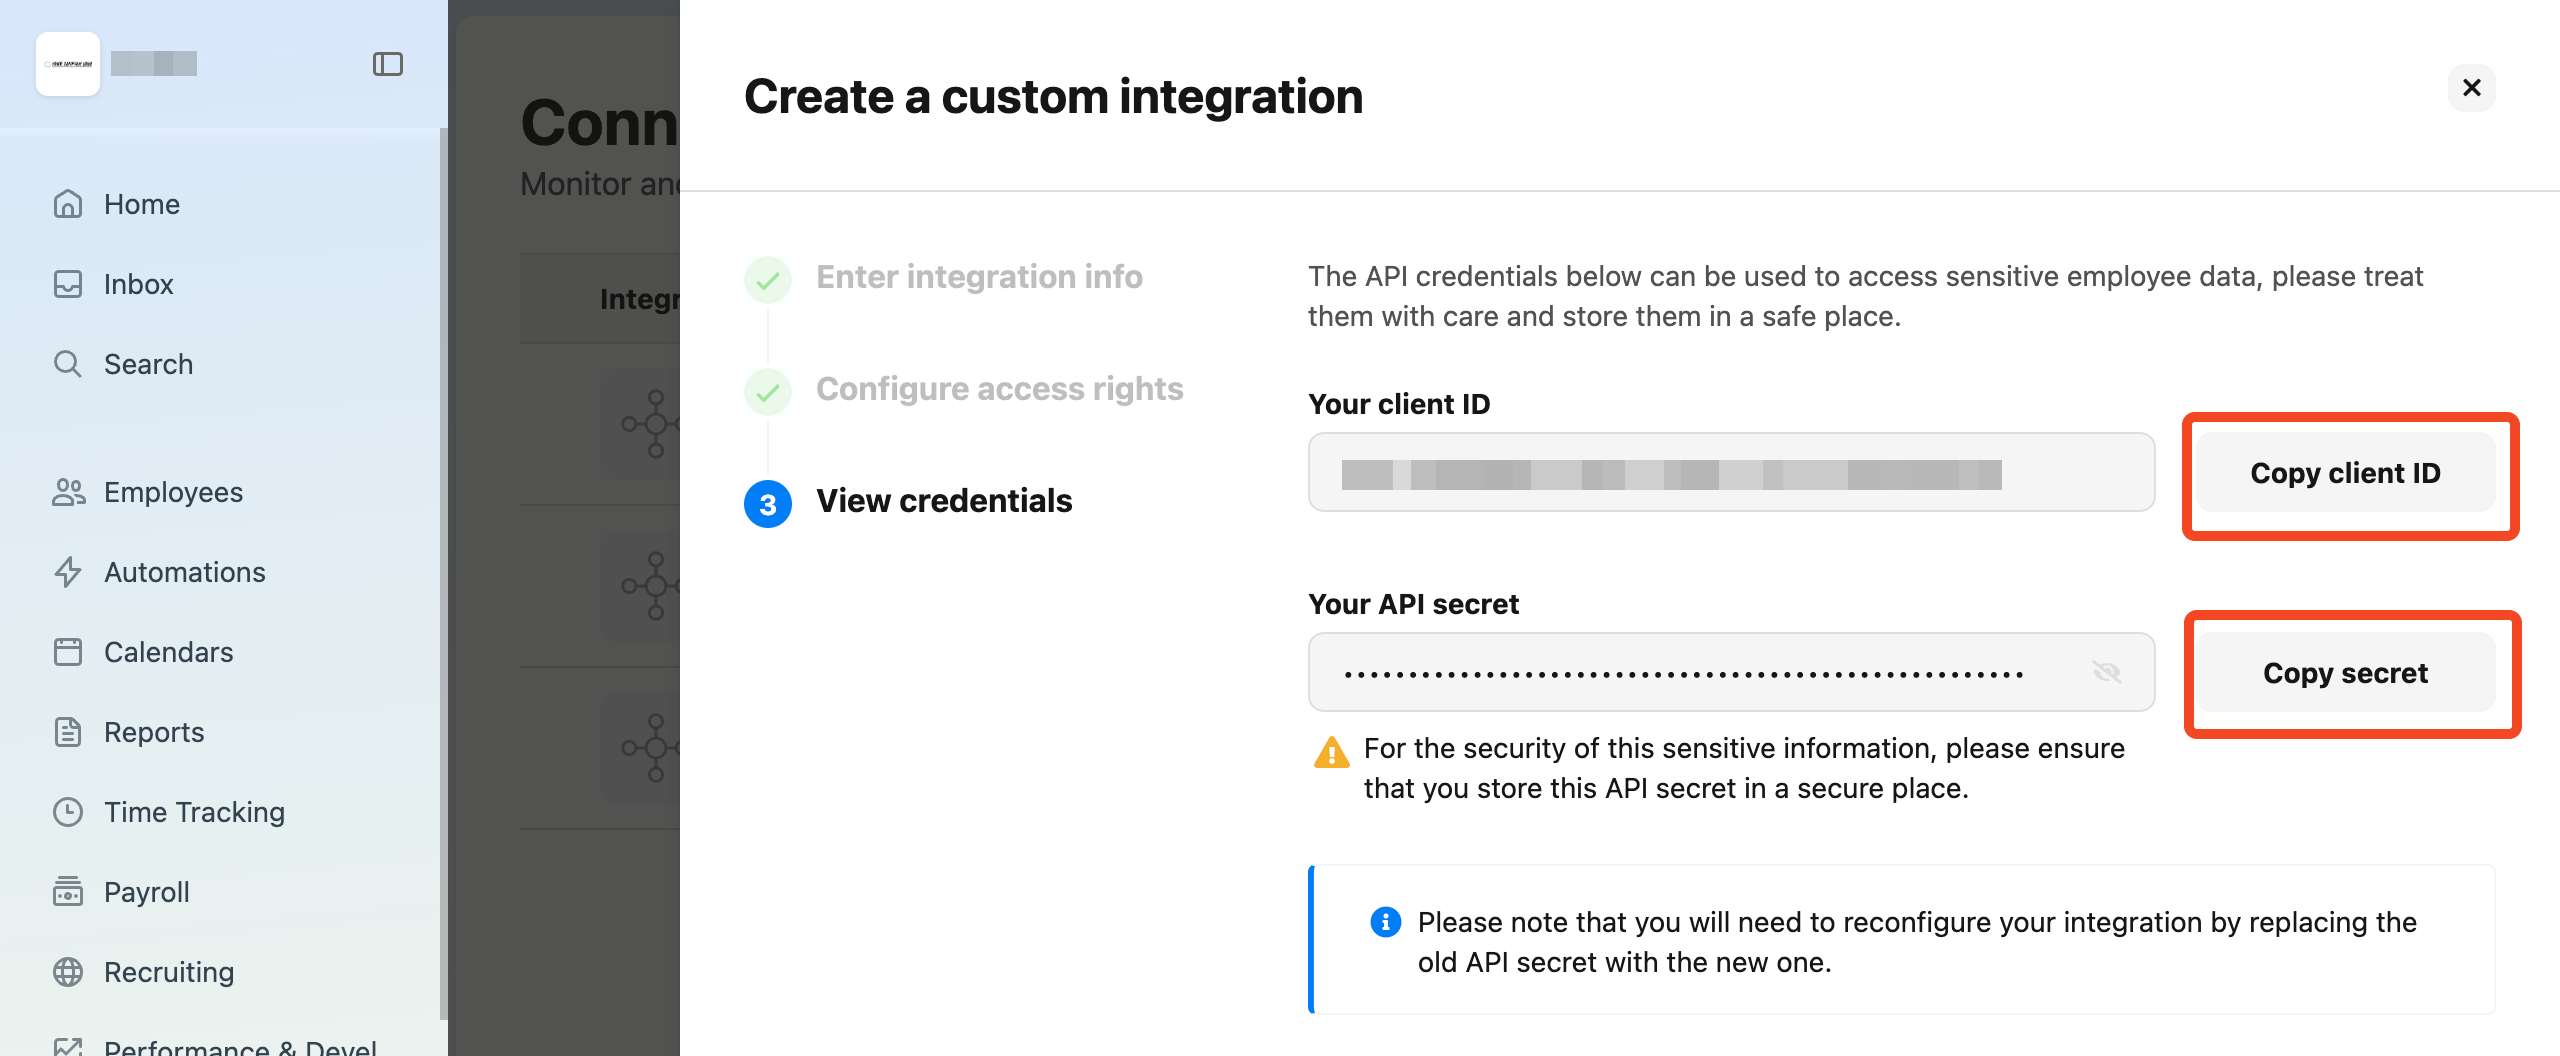
You will now be shown the client ID and secret.
Copy and paste these into 1Password SaaS Manager, and click Finish when you are done.
Was this article helpful?
Glad to hear it! If you have anything you'd like to add, feel free to contact us.
Sorry to hear that. Please contact us if you'd like to provide more details.