Tip
If you don’t need to migrate your existing data to a 1Password account, you can still move and copy items between vaults.
1Password 7 and earlier supported standalone vaults, which stored information locally on your device outside of a 1Password account. 1Password 8 requires a 1Password membership. If you see a Primary vault in the 1Password app, follow the instructions below to sign up for an account and migrate your information.
Step 1: Sign up or join an account

You can sign up for an account on 1Password.com, 1Password.ca, or 1Password.eu.
- If you choose to create a family or team account, only one person needs to set up an account. They’re responsible for inviting everyone else.
- If someone already set up an account for your family or team, ask them to invite you. Then look for an invitation email from 1Password to join your family or team.
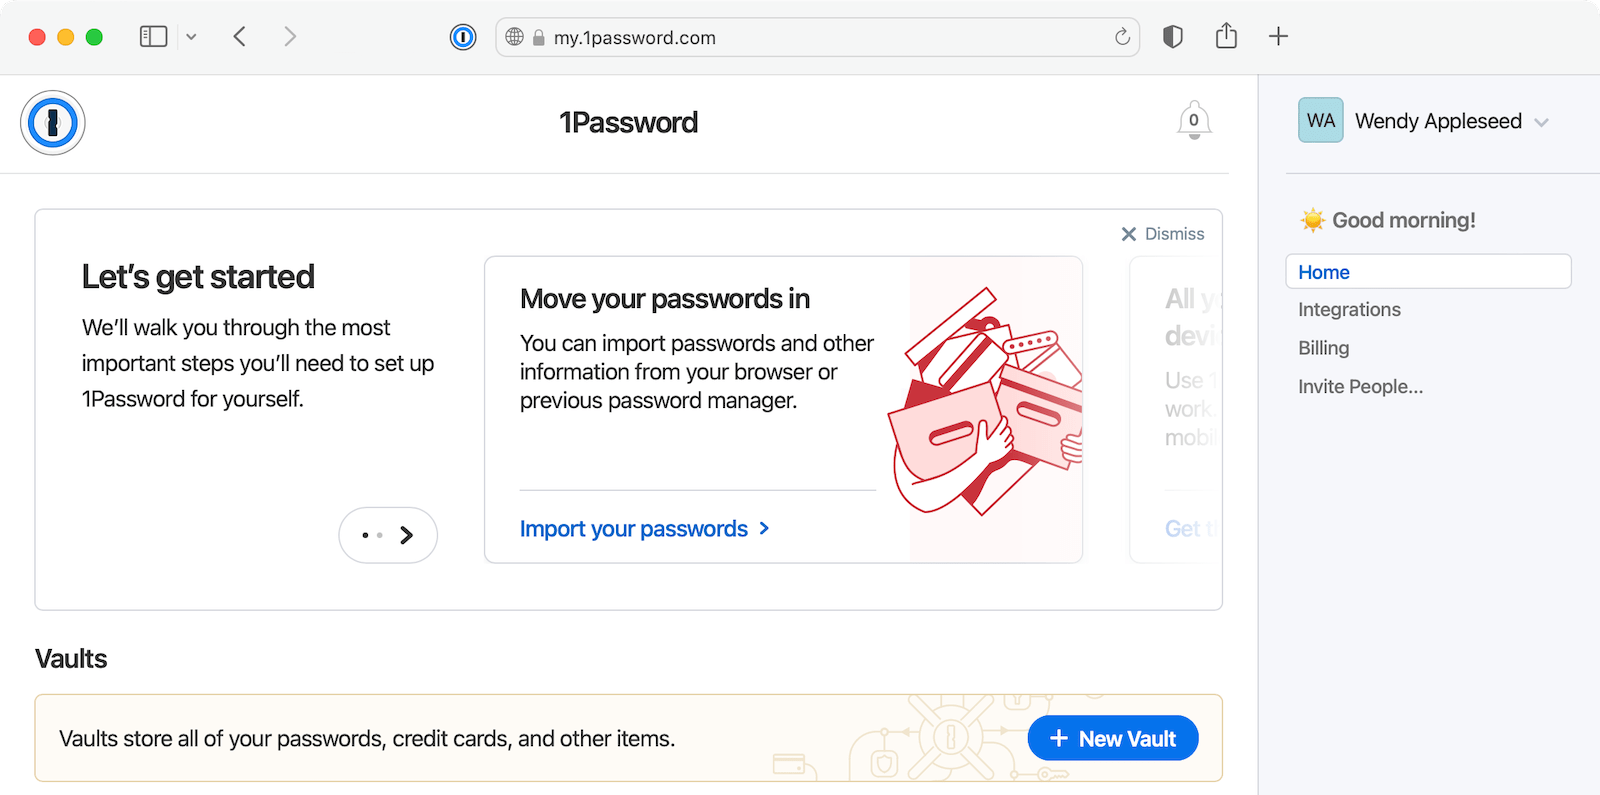
During sign-up, you’ll be asked to create an account password. Use the password you already use with 1Password. After you’re done creating your account, you’ll see your Home page.
Important
The password you use to create your 1Password account is the one you will use to unlock 1Password after you migrate your data.

Step 2: Migrate your data on your main device
Pick one computer or mobile device that has all your 1Password data. You’ll add your account and migrate your data into it.
Important
Migrating your data requires 1Password 7. If you’re using 1Password 6, learn how to upgrade then migrate your data to a 1Password account.
Upgrading to 1Password 8 will automatically uninstall 1Password 7, so you don’t need to uninstall it manually.
2.1: Upgrade to 1Password 8
Download and install 1Password 8 to make sure you have the latest version of the app.
2.2: Sign in and migrate your data
- Open 1Password 8 and select Sign in. Choose a sign in method and follow the onscreen instructions.
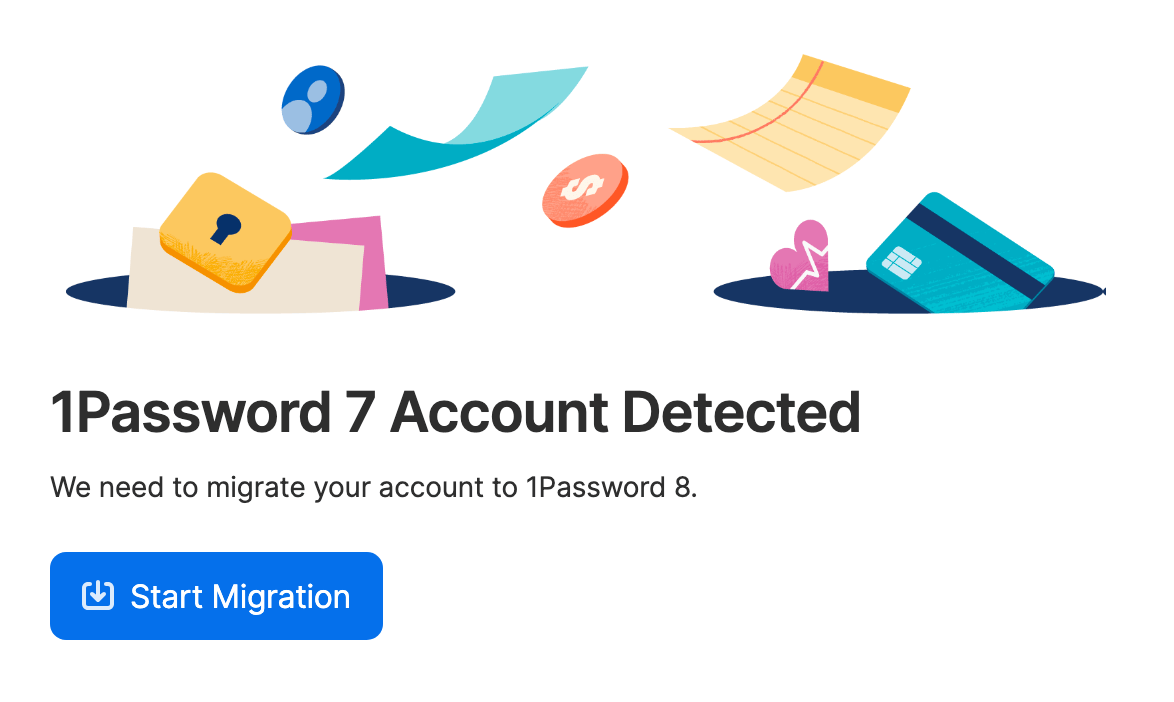
- You’ll see a prompt that a 1Password 7 account has been detected. Select Start Migration.

Get help if 1Password doesn’t ask you to migrate your data.
- Enter the password you used to unlock 1Password 7 and select Migrate.
- When the migration has finished, you’ll see a Migration Complete window. Select OK.
All imported items will be tagged
from-1password-7.Any items that couldn't be imported will be tagged
!-repair-items-1password-7.
When the migration is complete, all of your standalone vaults and data will be migrated to your account. If you don’t have permission to create new vaults in your account, the data from your standalone vaults will be migrated to your new Employee or Private vault.
Any vaults you previously shared with others will need to be shared again.
Get help if you accidentally migrate your data more than once.
Tip
After you upgrade to 1Password 8, get 1Password in your browser to save logins and sign in to websites.
Important
Migrating your data requires 1Password 7. If you uninstalled 1Password 7, you can download it again from the App Store.
Upgrade to 1Password 8
To migrate your data, download 1Password 8 from the App Store. Open 1Password 8, then tap Migrate Existing Data and follow the onscreen instructions.
Tip
After you upgrade to 1Password 8, set up 1Password to save logins and sign in to websites in Safari and in apps and other browsers.
If you want to migrate your data without installing 1Password 8
- Open and unlock 1Password 7.
- Tap Settings, then tap Accounts.
- Tap Add Existing Account.
- Tap Scan Setup Code and follow the onscreen instructions to scan your Setup Code.
Learn how to find your Setup Code.
- Enter your account password and tap Sign in.
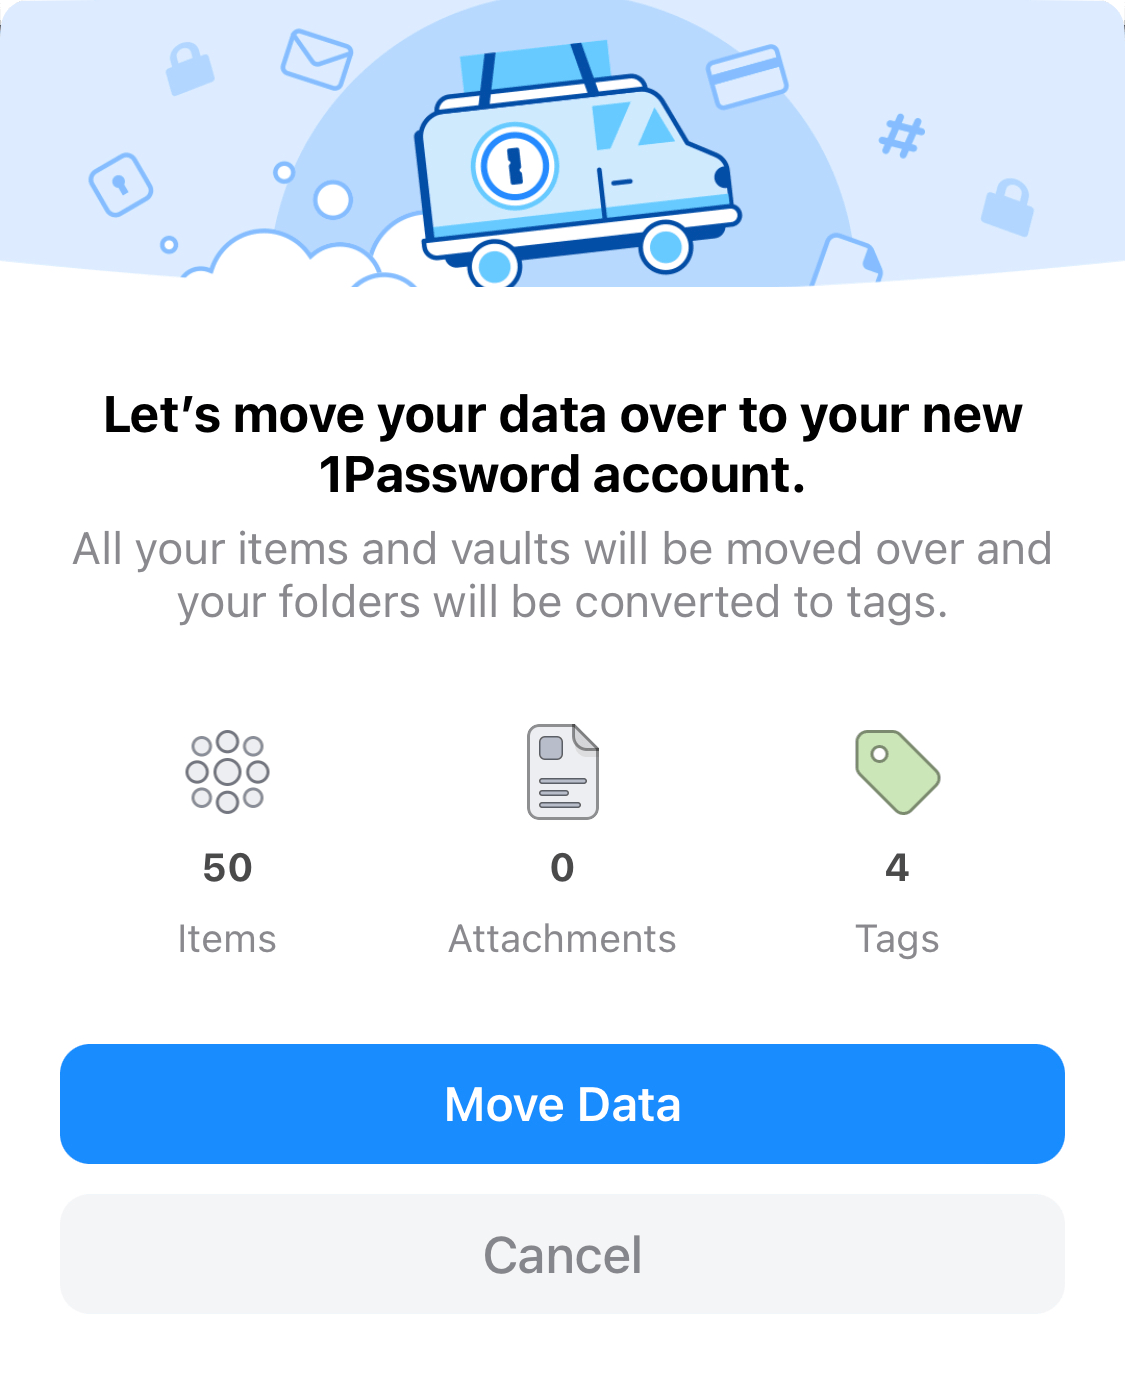
- Tap Move Data to migrate your 1Password data into your account.
If 1Password doesn’t ask you to move your data, tap Settings > Advanced > Migrate Data to Your Account, then tap your account and tap Move Data.

Important
Migrating your data requires 1Password 7. If you’re using 1Password 4, learn how to upgrade to 1Password 7.
Upgrading to 1Password 8 will automatically uninstall 1Password 7, so you don’t need to uninstall it manually.
2.1: Upgrade to 1Password 8
Download and install 1Password 8 to make sure you have the latest version of the app.
2.2: Sign in and migrate your data
- Open 1Password 8 and select Sign in. Choose a sign in method and follow the onscreen instructions.
- You’ll see a prompt that a 1Password 7 account has been detected. Select Start Migration.

Get help if 1Password doesn’t ask you to migrate your data.
- Enter the password you used to unlock 1Password 7 and select Migrate.
- When the migration has finished, you’ll see a Migration Complete window. Select OK.
All imported items will be tagged
from-1password-7.Any items that couldn't be imported will be tagged
!-repair-items-1password-7.
When the migration is complete, all of your standalone vaults and data will be migrated to your account. If you don’t have permission to create new vaults in your account, the data from your standalone vaults will be migrated to your new Employee or Private vault.
Any vaults you previously shared with others will need to be shared again.
Get help if you accidentally migrate your data more than once.
Tip
After you upgrade to 1Password 8, get 1Password in your browser to save logins and sign in to websites.
If you want to migrate your data without installing 1Password 8
- Open and unlock 1Password 7.
- Choose Account > Sign in to another account and enter your account details.
- Choose File > Open vault on this PC to open all the standalone vaults that you want to migrate.
- Choose Help > Tools > Migrate standalone vaults to account.
- Select the account you want to migrate to, then click Continue.
- Confirm the number of items, attachments, and tags to be migrated, then click Move Data.
Important
Migrating your data requires 1Password 7. If you uninstalled 1Password 7, you can reinstall it on Google Play.
Upgrade to 1Password 8
To migrate your data, get 1Password 8 on Google Play. Open 1Password 8, then select Migrate Existing Data and follow the onscreen instructions.
If you want to migrate your data without installing 1Password 8
- Open and unlock 1Password 7.
- Tap Settings, then tap Accounts > Sign in.
- Tap Scan your Setup Code and follow the onscreen instructions to scan your Setup Code.
Learn how to find your Setup Code.
- Enter your account password and tap Sign In.
- Tap Move data to migrate your 1Password data into your account.
If 1Password doesn’t ask you to move your data, tap Settings > Advanced > Migrate data to 1Password account, then tap your account and tap Move data.

Step 3: Set up your other devices
After you’ve migrated your data on your main device, get 1Password 8 on your other devices.
You will not need to migrate your data again. If you see a prompt to migrate your data again, select Install without Moving Data, then select Install 1Password 8.
If you’re using a mobile device, you should also uninstall 1Password 7 on your iOS or Android device after you upgrade to 1Password 8.
Get help if you can’t upgrade to 1Password 8 on one of your devices.
Get help
When you migrate your data to a 1Password account, folders become tags, and you can apply multiple tags to a single item. Learn more about organizing with tags.
If you accidentally migrate your data into your 1Password account more than once, you can use Watchtower to find duplicate items and delete them.
If you exported a 1PUX or 1PIF file from 1Password, you can import it into 1Password.
If 1Password 8 doesn’t ask you to migrate your data
If 1Password 8 for Mac or Windows doesn’t ask you to migrate your data after you’ve added your 1Password account to the app, you can import items into your account following the steps below.
- Open and unlock 1Password 8.
- Select File from the menu bar and choose Import Items from Standalone Vault.
- Enter the password you used to unlock 1Password 7 and select Migrate.
- You will see a Migration Complete window when the migration has finished. Select OK.
All imported items will be tagged
from-1Password 7. Any items that couldn't be imported will be tagged!-repair-items-op7.
- Open and unlock 1Password 8.
- Select the ellipsis at the top of the sidebar and choose Import Items from Standalone Vault.
- Enter the password you used to unlock 1Password 7 and select Migrate.
- You will see a Migration Complete window when the migration has finished. Select OK.
All imported items will be tagged
from-1Password 7. Any items that couldn't be imported will be tagged!-repair-items-op7.
If you can’t upgrade to 1Password 8 on one of your devices
If you can’t upgrade to 1Password 8 on one of your devices, you can sign in to your account in 1Password 7 and remove your old Primary vault:
- Sign in to your account on 1Password.com, 1Password.ca, or 1Password.eu to make sure you have the Secret Key and account password for it.
- Open and unlock 1Password 7, then add your account to the app.
- Compare the number of items in your Primary vault with your Personal, Private, or Employee vault. If any items are missing from your vault, move them from your Primary vault.
- Choose Vault > Switch to Vault > Primary, then choose Vault > Delete Vault.
- Enter the password for your Primary vault, then click Delete Vault.
- Sign in to your account on 1Password.com, 1Password.ca, or 1Password.eu to make sure you have the Secret Key and account password for it.
- Open and unlock 1Password 7, then add your account to the app.
- Compare the number of items in your Primary vault with your Personal, Private, or Employee vault. If any items are missing from your vault, move them from your Primary vault.
- Tap Settings > Vaults > Primary.
- Tap Delete Vault.
- Sign in to your account on 1Password.com, 1Password.ca, or 1Password.eu to make sure you have the Secret Key and account password for it.
- Open and unlock 1Password 7, then add your account to the app.
- Compare the number of items in your Primary vault with your Personal, Private, or Employee vault. If any items are missing from your vault, move them from your Primary vault.
- Click
 All Vaults at the top of the sidebar. If you have a different vault selected, you’ll see its name instead of
  All Vaults.
 - Click the ellipsis next to your old vault and select Remove vault, then click Delete.
- Sign in to your account on 1Password.com, 1Password.ca, or 1Password.eu to make sure you have the Secret Key and account password for it.
- Open and unlock 1Password 7, then add your account to the app.
- Compare the number of items in your Primary vault with your Personal, Private, or Employee vault. If any items are missing from your vault, move them from your Primary vault.
- Tap Settings > Vaults > Primary.
- Tap Delete Vault.
If you’re still having trouble migrating your data to a 1Password account, contact 1Password Support with a description of the problem and a diagnostics report from your device.
Was this article helpful?
Glad to hear it! If you have anything you'd like to add, feel free to contact us.
Sorry to hear that. Please contact us if you'd like to provide more details.