With 1Password’s access gateway, you can configure team apps that sign in with 1Password using the SAML 2.0 authentication protocol. Before you add an app to the access gateway:
- Make sure the app supports SSO at your current pricing tier.
- Find the appropriate authentication protocol for the app in its SSO setup guide.
Tip
If your app uses OIDC, learn how to add an app using the OIDC authentication protocol instead.
Step 1: Add a new team app
When you’re ready to add a new team app to the access gateway:
Step 2: Enter the app’s details
- Enter the Application name. This is the name your team will see for the app in their Managed vault.
- Select SAML 2.0 to set up an app with the SAML authentication protocol.
Step 3: Configure the app
Step 3.1: Set up the connection between 1Password and your service provider
On the next screen of the setup wizard, you’ll see two types of information:
- On the left side of the screen, information you’ll need to provide to 1Password from your service provider.
- On the right side, information you’ll need to provide to your service provider from 1Password.
The order in which you provide this information will depend on your service provider.
Provide information from your service provider to 1Password
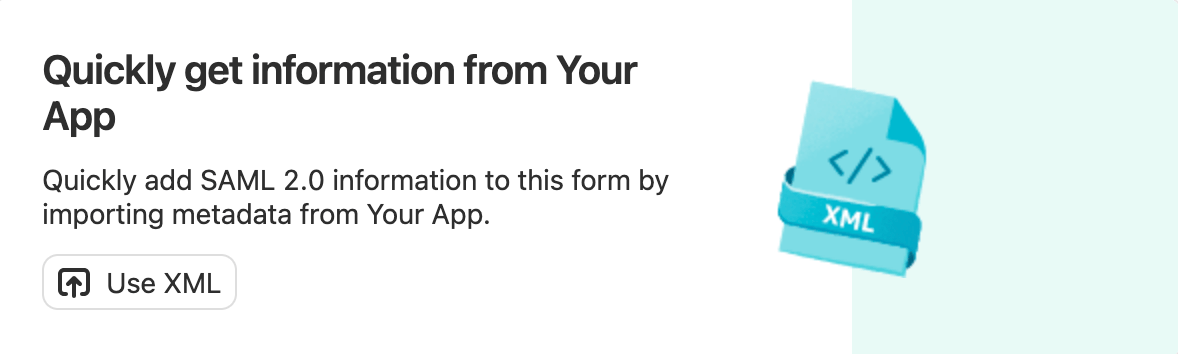
To automatically fill your app’s configuration settings, select Use XML, then provide an XML file, URL, or string. Look in your app’s documentation for an XML file or URL.
If your service provider doesn’t offer XML, manually enter the required information.
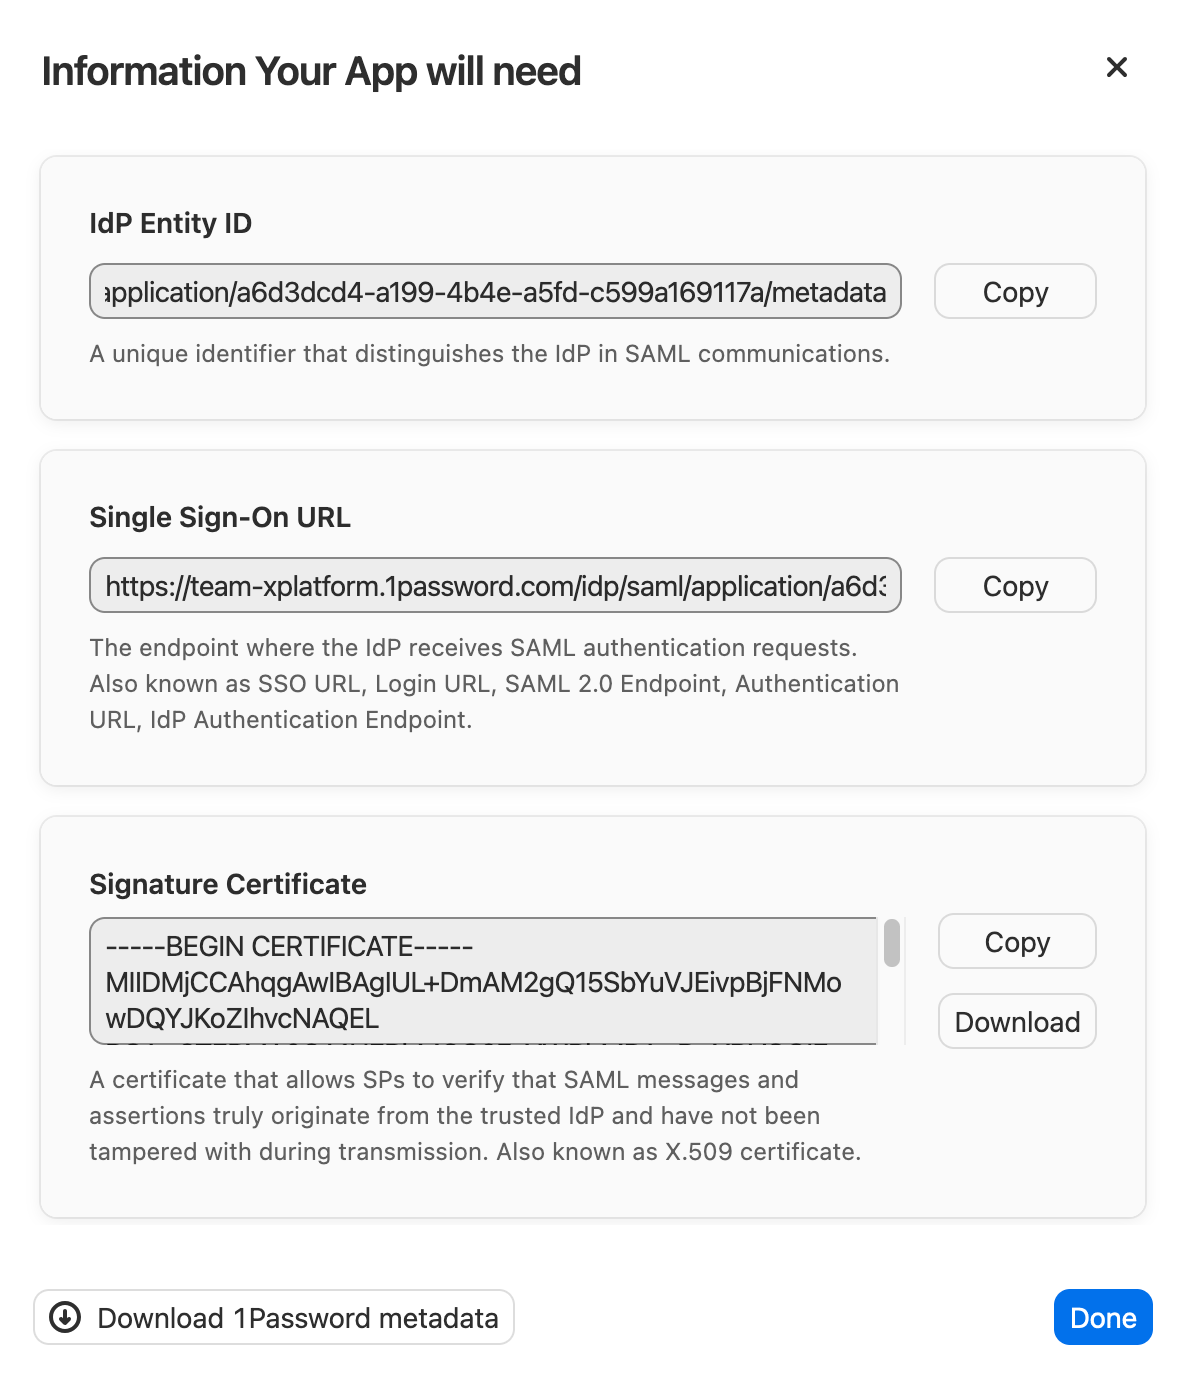
Provide information from 1Password to your service provider
- To see the information you’ll need to provide from 1Password to your service provider, select Show information on the right side of the setup wizard.
- Select Download 1Password metadata to download an XML file, then provide it to your service provider to automatically configure the connection.
- If your service provider doesn’t accept XML, copy the provided information and paste it into the appropriate fields in your service provider settings.
- Select Done to return to the setup wizard.
Step 3.2: Add the app
After you provide the required information to both 1Password and your service provider, select Done in the setup wizard to add the app to the access gateway.
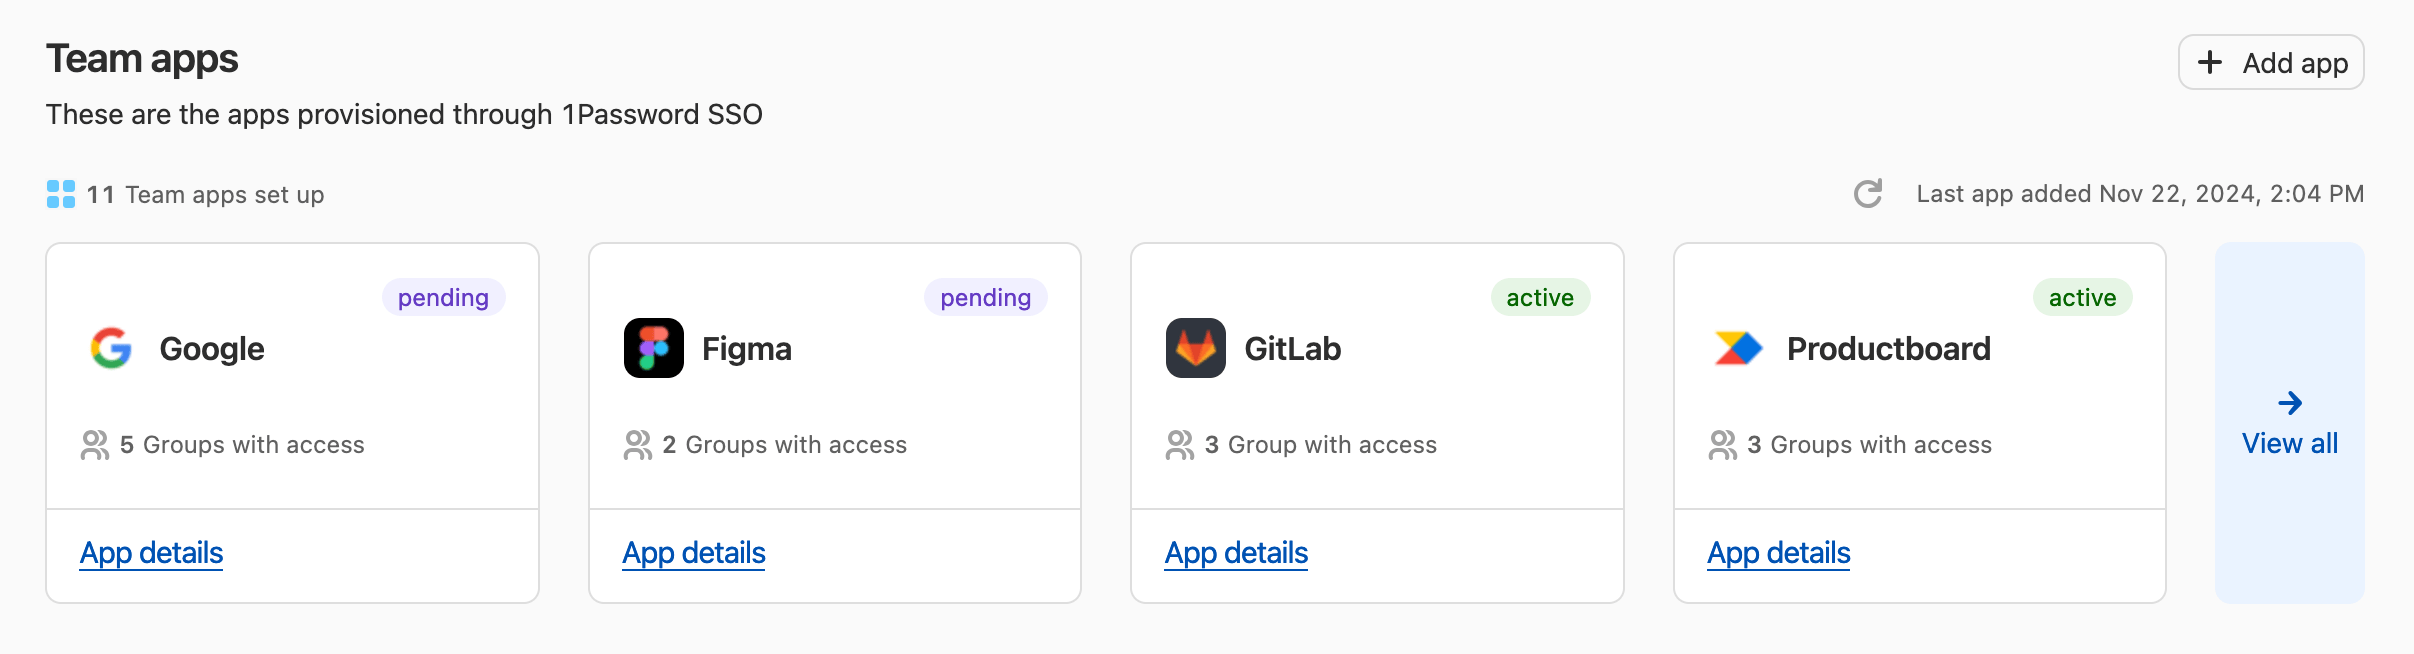
You’ll see the app under “Team apps” on the Apps page on 1Password.com. It will be listed as “pending” until a team member successfully signs in to it using 1Password.
Step 4: Test the app
To test that the app works correctly before provisioning it to your team, first create a test group:
- Select Groups in the sidebar.
- Select New group and give your test group a name and description, then select Create group.
- On the next page, select Manage next to People.
- Select the people you want to add to the test group, then select Update Group Members.
Then assign the app to the test group:
- Select Apps in the sidebar.
- Select App details under the app you just added, then select Assign Groups.
- Select the test group, then select Review > Assign access.
Team members who belong to the test group will be able to access the app in their Managed vault. After a team member successfully signs in to the app using 1Password, the app’s status will change from “pending” to “active”.
When you’re ready to assign the app to your team, learn how to assign apps to groups and manage which apps each group can access.
Get help
If you have questions about 1Password Extended Access Management, contact 1Password Support for help.